How to Look Trimmer on Camera, No Filters Needed
- Turn your body 10–30° off-camera, shift weight to the back foot, and hinge slightly at the hips to trim the midsection on camera.
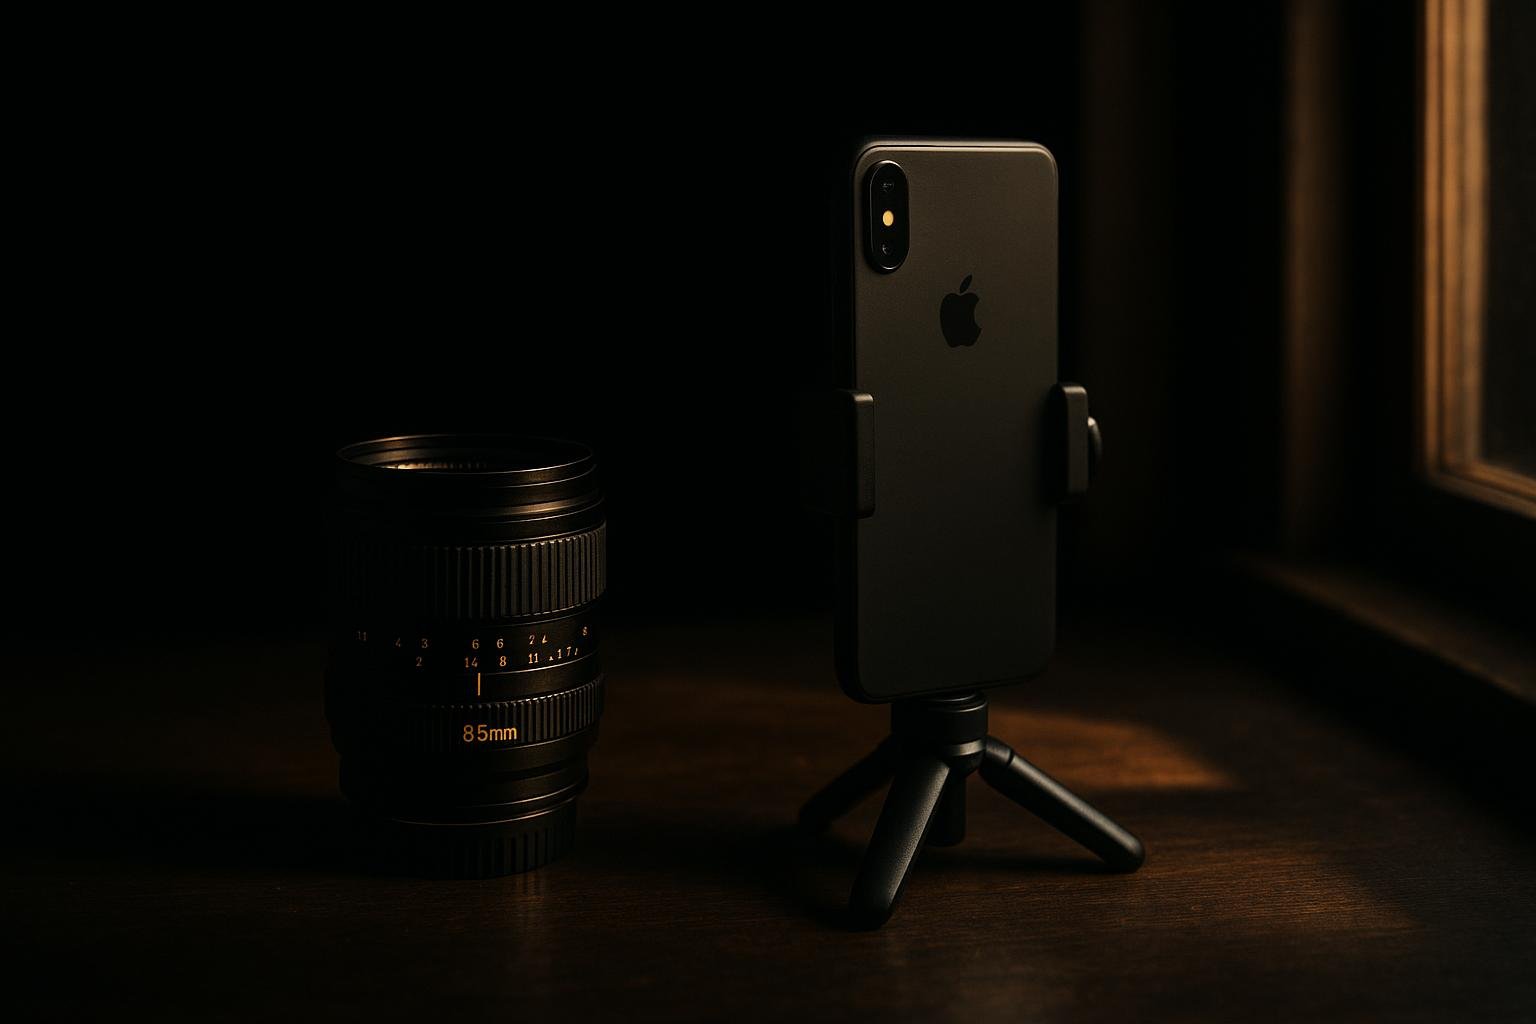
- Keep the lens at or slightly above sternum height and 6–10 feet away to avoid wide-angle belly distortion.
- Choose structured layers, mid-rise trousers, darker solid tops, and vertical details to streamline your outline.
- Use edge lighting, separation from the background, and three‑quarter crops to emphasize shape over width.
- Practice one repeatable pose and pocket/hand rules so you can default to it in seconds when a photo happens.
The fastest fixes that make you look trimmer
You want simple moves that work in a normal photo—no filters, no retouching. Do these in order:
- Turn 10–30° off-camera: Aim your chest slightly past the lens (not square). One shoulder closer, one farther. This narrows your frame immediately.
- Weight back, front foot light: Put 60–70% of your weight on the rear foot. Lead foot points toward the camera, heel lightly down. This shifts mass away from the lens.
- Hinge at the hips, not the waist: A small 5–10° hip hinge stacks your torso tall without puffing the belly.
- Shoulders down and back: One deep inhale up, long exhale, then set shoulders down and slightly back. Bigger chest, smaller midsection.
- Elongate the neck: Imagine a hook lifting the crown of your head. Micro push your face 1–2 cm toward the lens, then tilt your chin down 2–3°. Cleaner jaw, less under-chin.
- Hands create angles, not width: One hand in a loose front pocket (thumbs out) or hold a prop (keys, glass, jacket). Keep elbows off your sides to avoid a blocky torso.
- Use a layer as a frame: Wear an open jacket/overshirt; let the front edges create vertical lines that visually cut the midsection.
- Ask for the high lens: “Mind holding the camera a touch higher?” Lens at or just above sternum height trims the midsection.
- Three‑quarter crop: If someone’s framing, say: “Let’s do mid‑thigh up.” Less body width on display, more control up top.
- Exhale gently: Don’t suck in. Soft exhale plus posture does the work without looking tense.
Lock this in as your default. You’ll look like you—just cleaner in outline.
One repeatable pose for men that trims width
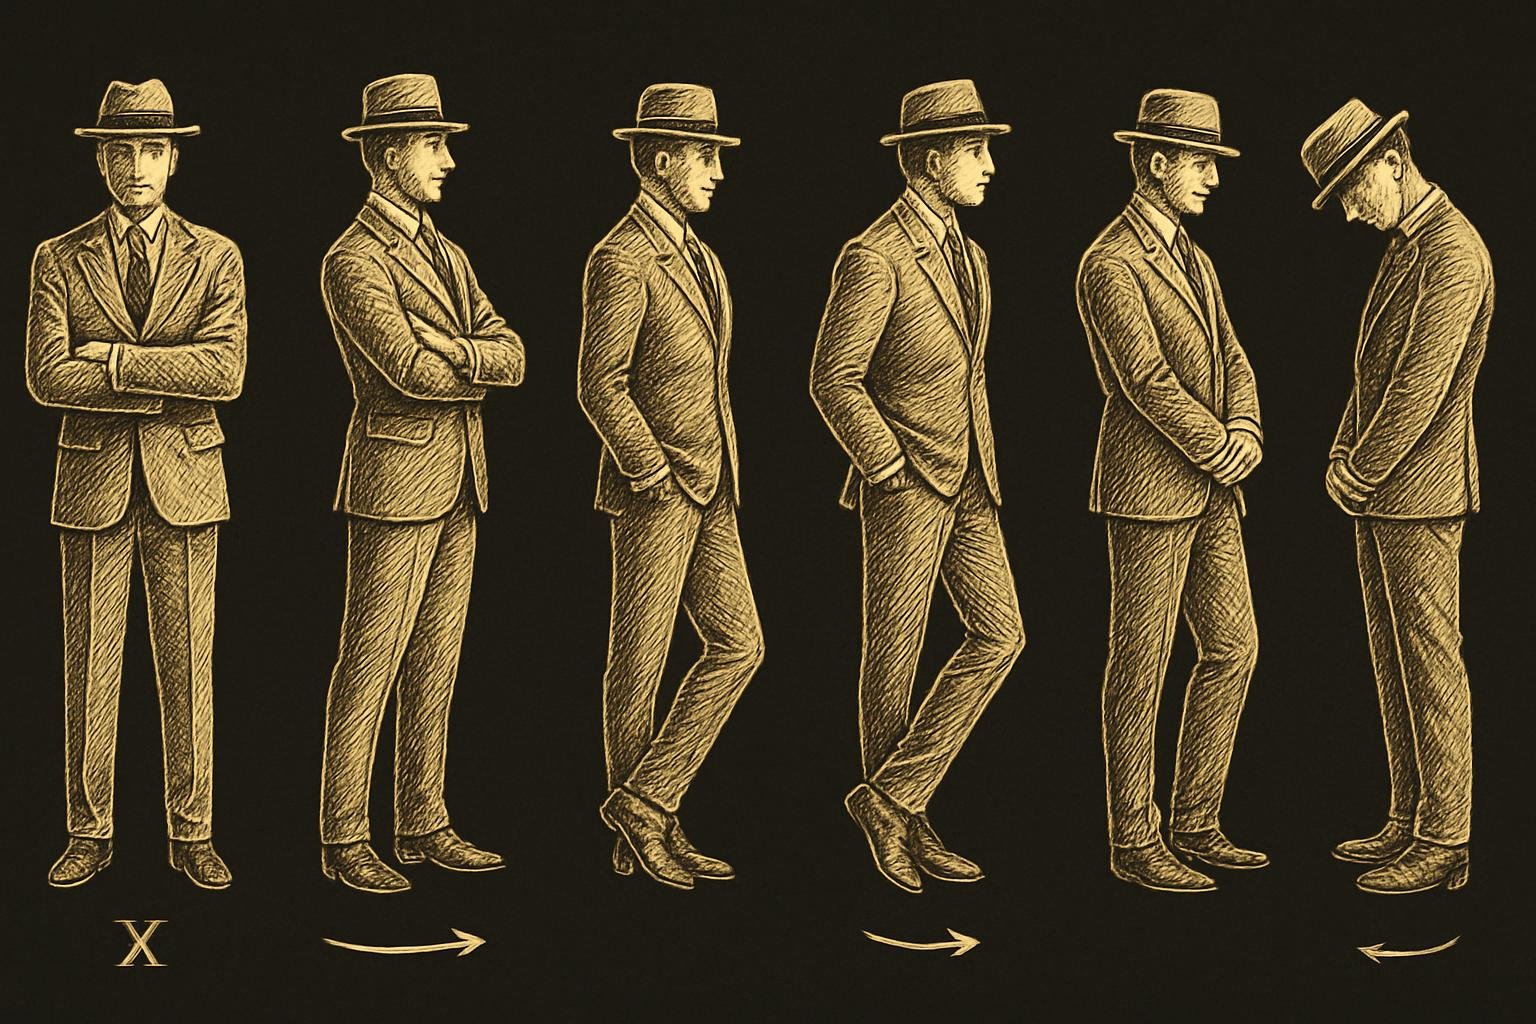
Memorize this step-by-step. It works standing, with or without a jacket.
- Feet: Place heels shoulder-width. Turn your torso 15–20° off-camera. Lead foot angled toward the lens; rear foot planted.
- Hips: Shift 60–70% weight to the rear foot. Add a 5–10° hip hinge. This stacks your torso and moves bulk away from the lens.
- Torso: Tall spine, sternum slightly lifted. Avoid leaning back (adds belly) or slouching (adds width).
- Arms: Create daylight. One hand: loose pocket with thumb hooked outside or holding a small object at thigh level. Other hand rests lightly on the opposite wrist or along the jacket edge. No flat palms on belly.
- Shoulders/neck: Shoulders down/back. Neck long. Micro push your face toward the lens 1–2 cm; chin down 2–3° for jaw definition.
- Eyes/mouth: Look just above the lens for a moment, then back at it. Small exhale. Relax the mouth; micro-smile or neutral.
- Frame: Ask for a mid‑thigh or waist-up crop. If you can, step 1–2 feet away from the background for separation.
Want a full breakdown of posture and micro-movements? Read our guide: how to pose for photos. If your hands get awkward under pressure, also see what to do with hands.
Angles and framing that reduce midsection distortion
Most “why do I look wider?” complaints are camera geometry. Here’s how to fix it without tech.
- Lens distance: Stand 6–10 feet from the camera for half- or three-quarter shots. Closer than ~4 feet on a phone widens the nearest surface (belly, chest).
- Camera height: Keep the lens at or slightly above sternum height. Too low = up-the-torso distortion. Too high = big head, tiny body. Slightly high is the trim sweet spot.
- Three‑quarter angle: Your body turned 10–30° plus a slight camera elevation reduces broadness without hiding you.
- Crop smart: Waist-up or mid‑thigh crops emphasize your face and chest line. Avoid full-body photos from close range on a phone.
- Rule of thirds: Place your face on an upper third intersection. Off-centering removes “ID photo” flatness and cuts width.
- Avoid ultrawide lenses: On phones, don’t use the 0.5× lens for people. It balloons anything near the edge—usually the midsection.
- Step out from the background: Stand 1–3 feet in front of walls. When background drops soft, your outline is cleaner and slimmer.
If you’re testing what works on you, shoot the same pose at three heights (eye, sternum, chest) and pick the best. Save it as your standard ask next time someone takes your photo.
Wardrobe choices that visually slim without hiding you
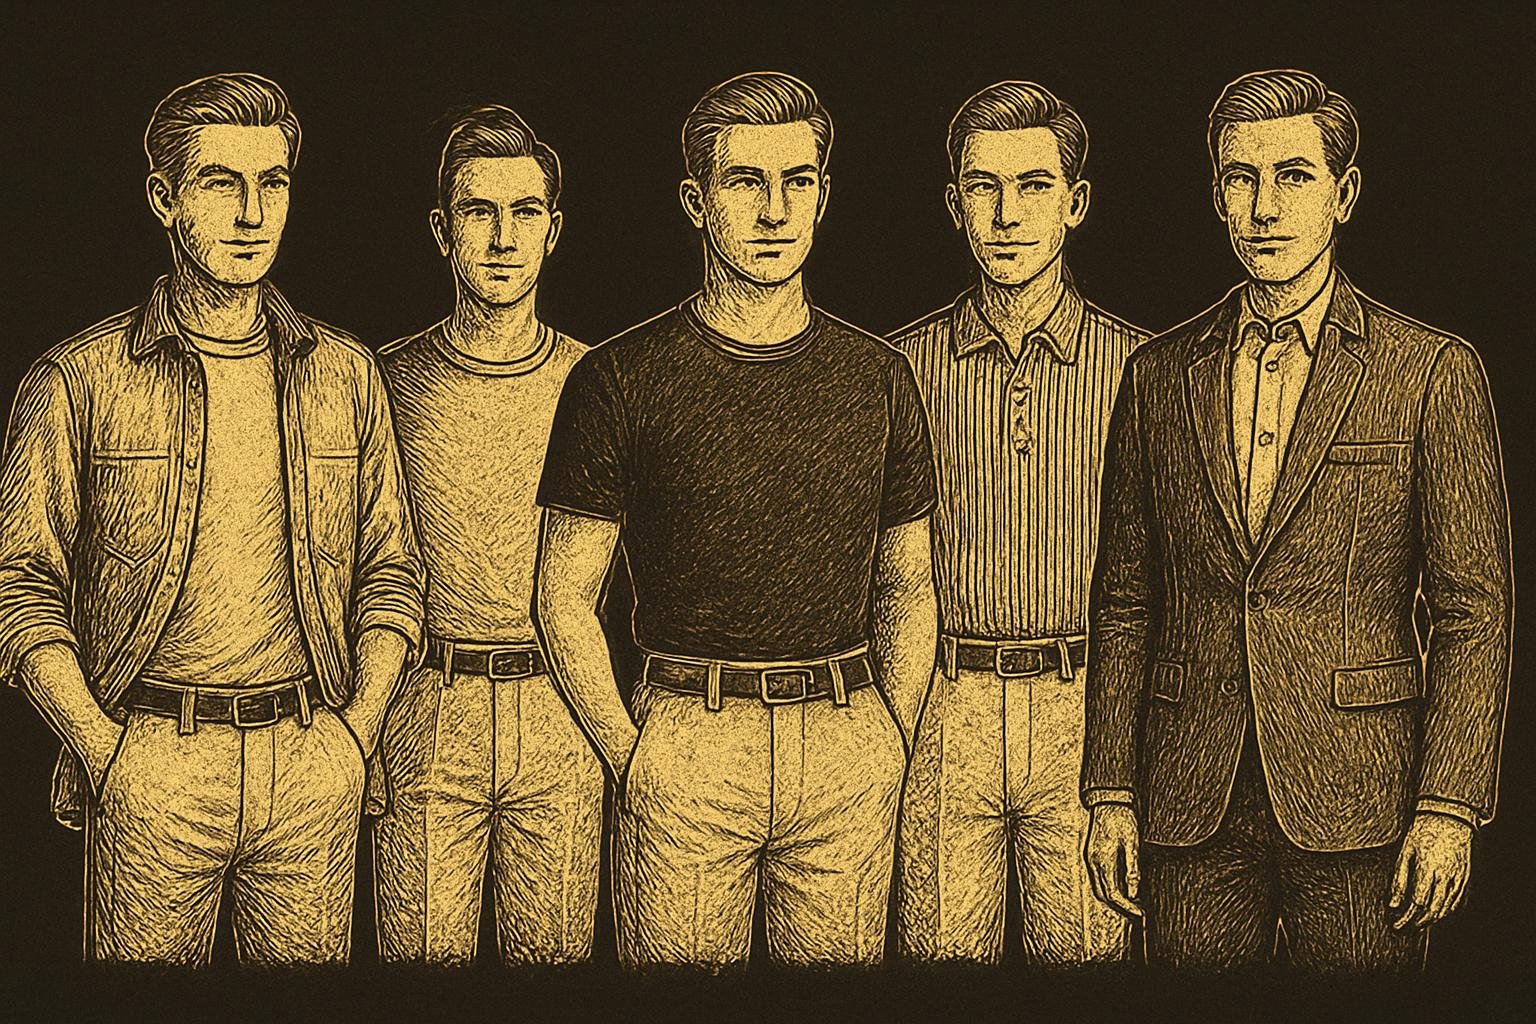
You don’t need a new closet. You need cleaner lines and structure around the torso.
- Fit first: Tops that skim, not cling. If you can pinch 1–1.5 inches of fabric at the side seam, that’s right. More = boxy; zero = spray-on.
- Structured layers: An open overshirt, shirt‑jacket, chore jacket, or light blazer creates vertical front edges that narrow the midsection. Keep it unbuttoned for the frame effect.
- Necklines: Crew or modest V that sits close to the neck. Deep scoops widen the chest visually.
- Color and value: Darker tops than bottoms trim the torso. Monochrome or near‑monochrome also works. Avoid sharp horizontal color breaks at the belly button.
- Patterns: Small‑scale patterns or vertical elements (thin stripes, ribbing, plackets) beat big horizontals, which inflate width.
- Fabric: Matte beats shiny. Medium weight with a bit of structure (oxford cloth, twill, ponte) lies smoother over the midsection than flimsy knits.
- Pant rise and seat: Mid‑rise trousers/jeans worn to your natural waist prevent the under‑belly shelf you get from low rise. Hem so there’s minimal break; pooled fabric adds mass.
- Belts and tucks: If belting, choose a simple, matte buckle. With a tee/polo, try a clean half‑tuck just off center to show some leg line without cutting the torso in half.
- Shoes: A slimmer toe box and low contrast with your pants lengthen the leg line.
- Jacket length: Aim for jackets hitting mid‑fly to just below the seat. Cropped tops can make the belly look lower and wider; overly long tops shorten legs.
For event photos, plan a two‑layer top half (tee or knit polo + overshirt/jacket). It looks intentional and quietly trims the frame.
Need scenario-specific belly camo? See our focused tips here: how to hide your belly in photos.
Light and background that do the slimming for you
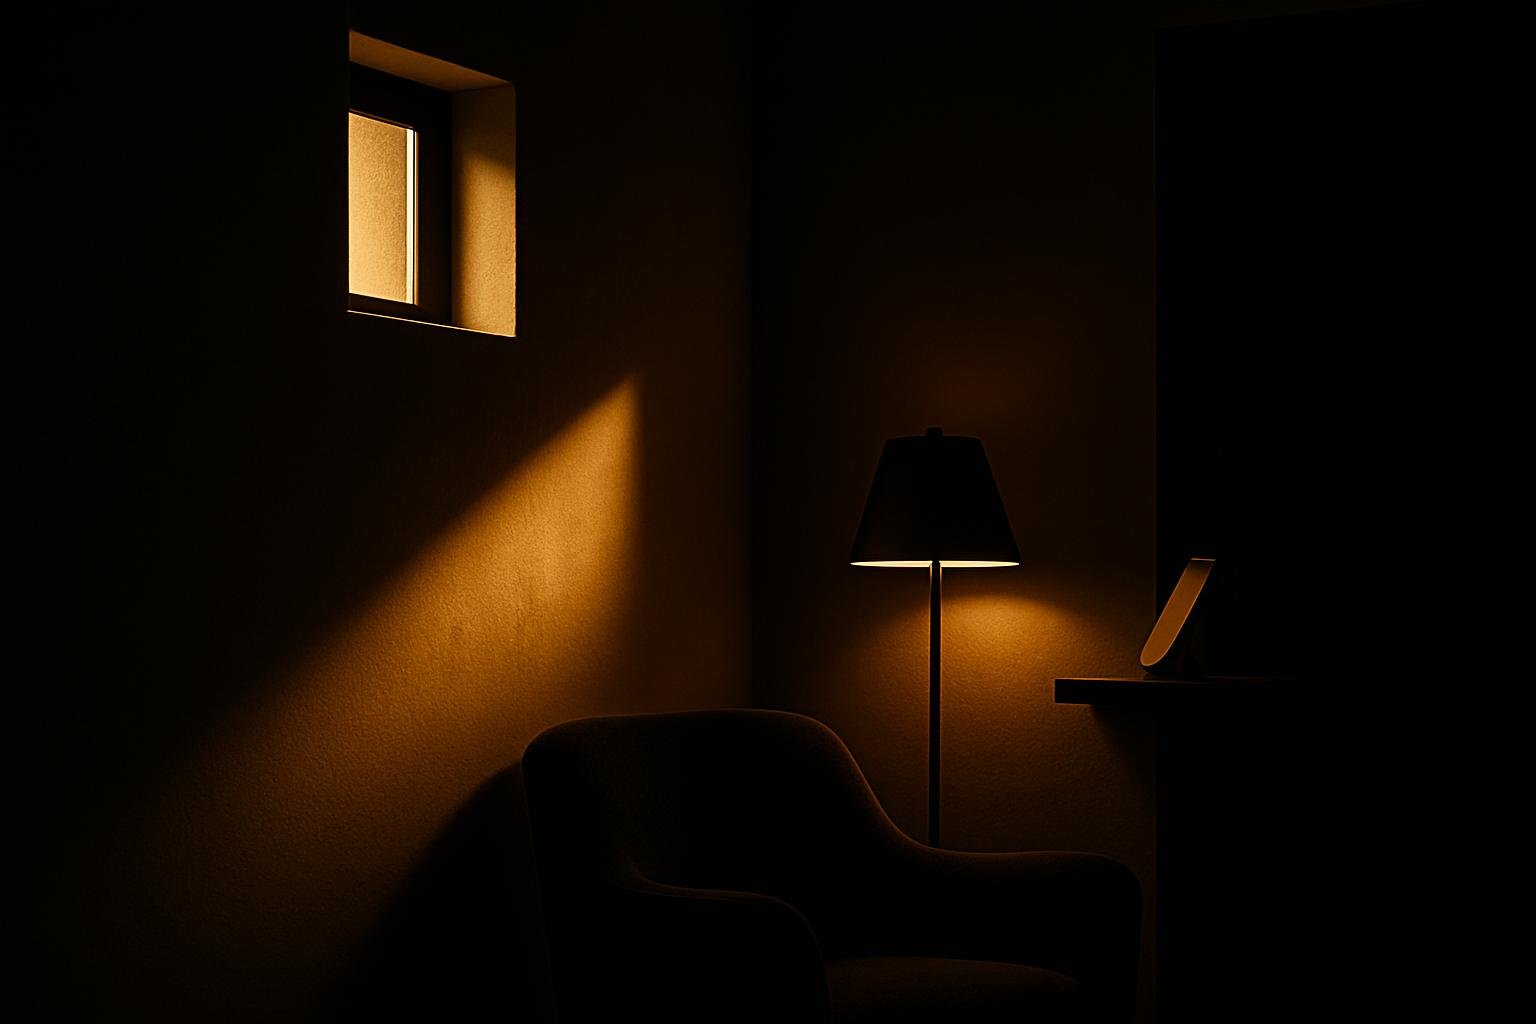
Light shapes the body. Flat, front light makes everything look wider. Shift the light; your outline tightens.
- Side light over front flash: Turn so the main light (window, lamp, sun) hits you from 30–60° to one side. It carves a line down the torso and jaw.
- Feather the light: Don’t face a bright window dead-on. Angle your body to it; look just past it. Softer transitions, cleaner shape.
- Edge/rim light: If there’s a lamp or bright area behind, let it graze your shoulder line. It defines edges without adding width.
- Background separation: Stand 2–4 feet off the background. If it’s busy, pick a simpler wall or darker doorway behind you.
- Mind the brightest spot: Make your face the brightest part of the frame. If your shirt is brighter, it steals attention and can read as “larger.”
- Skip on‑camera flash: It flattens and widens. If you must, bounce it off a wall or ceiling by angling the phone/flash away slightly.
Outdoors, shoot in open shade with the sky as your soft light source. Turn 10–20° to it; let the opposite side fall a touch darker for shape.
Face, grooming, and presence that sell the shot
Even with a strong pose, small face and grooming tweaks finish the job.
- Jawline cue: Tongue to the roof just behind your front teeth, then micro chin down. It’s subtle and keeps the under‑chin tidy.
- Eyes: A soft 1–2 second squint (“smize”) reads confident. Practice in the mirror so it doesn’t become a grimace.
- Beard lines: Keep the neckline just above the Adam’s apple, not under the jaw. Higher lines can reveal under‑chin; too low makes the neck look thick.
- Hair volume: A touch of height at the crown balances proportions. Matte product beats shiny under bright light.
- Shine control: Blot the T‑zone (forehead, nose, cheeks) with a clean tissue or oil‑absorbing sheet right before photos. For more on this, read how to reduce a shiny face in photos.
- Glasses: Tilt frames down a couple degrees or lower the ear pieces slightly to dodge reflections. Angle your head 5–10° off axis.
If you want blunt feedback on where your face, hair, and outfit are adding visual width, Suvant’s free image audit breaks down photos across eight categories and turns the results into ranked next moves you can act on. It takes about two minutes, and the full plan (barber briefs, outfit lists, photo checklists) is $89/yr with a money-back guarantee.
Specific scenarios: seated, groups, selfies, and quick scripts
Seated photos
- Edge of seat: Sit on the front third, hips back, spine long. This prevents the belly fold a deep seat creates.
- Knees lower than hips: If possible, drop chair height a notch or stretch one leg slightly forward. Taller posture, less bunching at the waist.
- Angles: Turn the chair 10–20° off camera. One forearm rests on the far thigh; the other hand holds a small prop or rests on the chair edge. No forearms pressed into your midsection.
Group photos
- Don’t take the edge square-on: If you’re on an end, angle your body in; hand in pocket for space between arm and torso.
- Stagger your line: Take a half-step behind the nearest person. It narrows your visible width without hiding.
- Height play: If you’re taller, bend a knee and hip hinge slightly so you’re not looming (which widens the torso on camera).
Selfies and phone timers
- Extend the camera high and off-center: Hold or place the phone slightly above sternum level, 15–30° off to your dominant side.
- Use 1×, not 0.5×: The ultrawide lens expands your nearest features.
- Timer trick: Set a 3–10 second timer, prop the phone 6–10 feet away, and step into your default pose.
Quick scripts to get the right shot
- “Mind holding the phone a touch higher—about chest height?”
- “Let’s do mid‑thigh up and I’ll angle a bit.”
- “Can we take one by that window, but I’ll turn a little to the side?”
Lock one go-to pose and one go-to outfit. When the moment happens, you won’t improvise under pressure—you’ll execute.
Want a second set of eyes on your photos and closet? You can upload three photos to Suvant’s web app (app.getsuvant.com) for a free, brutally honest audit built with barbers, stylists, and photographers. It turns into a quest plan with exact deliverables like a barber brief and monthly re‑audits to track progress.
Get the honest audit you've never gotten.
Three photos, eight scores, the real reasons behind each number, then a ranked plan to fix them one move at a time.
Get my free audit →