Simple, Solid Poses Men Can Repeat Anywhere
- Turn your body 10–30° from the camera, shift weight to your back foot, and lengthen your neck to clean up lines fast.
- Lock in 3–5 go-to poses so you stop improvising; practice them for five minutes and keep one hand doing a job.
- Hands, pockets, and small props reduce stiffness; use the one-hand rule and create space at the wrists and elbows.
- Use light from the front-side, a slight head tilt, and a gentle neck stretch to avoid neck folds and flat, wide faces.
- Prep a simple script for whoever’s shooting so you get angles and distance that flatter you without feeling staged.
The 10‑second fix that works in most photos
If you blank when a camera comes out, do this sequence. It takes ten seconds and beats stiff, straight-on shots.
- Feet. Point your toes 10–30° away from the camera. One foot back, one foot forward. Weight mostly on the back foot.
- Hips and shoulders. Keep your chest angled — not square. Think “half a turn,” then relax your shoulders down.
- Neck. Stand tall, then gently reach your ears toward the camera 1–2 cm. It lengthens the neck without craning.
- Chin. Down 5–10 mm. Not tucked — just a nudge. It keeps the jawline clean. For more chin control tips, see how to avoid a double chin in photos.
- Hands. Give one hand a job: thumb hooked in a pocket, adjust your watch, or hold a jacket edge. Leave air between arms and torso.
- Eyes and mouth. Exhale through the nose, soften your eyes like you just recognized an old friend, then think one word that makes you smirk (not a grin). If smiling looks forced, use the micro-smile in our smiling guide.
- Light. Face the brightest side of the light, not directly into it. A 30–45° angle from a window is ideal. More in the lighting guide.
That sequence alone will carry you through most standing snapshots. Now lock in a few poses you can repeat anywhere.
Three reliable standing poses (no cheese)
1) Relaxed A‑Frame
- Stance: Feet shoulder-width, front foot angled 10–20° toward camera, back foot planted. Weight 70% on the back foot.
- Torso: Turn your ribcage 15–30° off-camera. Drop shoulders. Slight spine tallness — think “crown up.”
- Hands: Front hand: thumb hooked in front pocket, other fingers outside. Back hand: loosely hold your opposite wrist in front of your belt line (leave space between wrists and body).
- Head: Ears subtly forward, chin down 5–10 mm. Micro‑smile or neutral.
- Where it works: Full-body or 3/4 crops indoors or out. Clean, competent, not try‑hard.
2) One‑Hand Pocket + Watch Check
- Stance: One foot a half‑step forward. Hips turned 20–30°.
- Hands: Back hand thumb hooked in pocket; front hand lifts to adjust watch or cuff for two beats, then relaxes back to side. If no watch, pinch a jacket cuff edge.
- Arms: Keep air between bicep and torso. Don’t glue arms to your sides.
- Head: Small tilt toward your front shoulder (2–5°). Eyes just off lens, then back to lens for a couple frames.
- Where it works: Mid‑chest to headshot crops. Looks natural because your hand has a job.
3) Crossed Arms with Space
- Stance: Feet planted, turn 15–20°. Slight lean from ankles toward the camera (2–3 cm).
- Arms: Cross low, forearms stacked with hands tucked lightly under biceps — don’t squeeze. Show a bit of shirt cuff or watch; keep wrists relaxed.
- Shoulders: Down and back an inch, not puffed up.
- Head: Neutral or slight tilt away from the front shoulder (1–3°) to balance the frame.
- Where it works: Business‑casual, jacket on or off. Reads calm, in control — not closed off when you keep space.
Three seated poses that don’t slouch
1) Edge‑of‑Seat Lean
- Seat: Sit on the front third of the chair. Plant both feet; toes out 5–10°.
- Posture: Hinge slightly at the hips so chest is tall without arching. Think “long spine.”
- Hands: Forearms resting lightly on thighs, fingers loosely interlaced with a thumb on top. Leave a fist‑width of air between arms and torso.
- Angle: Turn the chair 15–30° from the camera. Head lengthened, chin down a touch.
- Great for: 3/4 crops and portraits. Strong, approachable, not formal.
2) Ankle‑Cross + Elbow Rest
- Legs: Cross ankles under the chair or stretch one leg slightly forward. Knees at a relaxed 90–100°.
- Hands: Rest one elbow lightly on the forward thigh, fingers touching chin line (not pressing) for one beat, then drop hand to clasp the other at mid‑thigh.
- Torso: Rotate 15–20° off camera. Shoulders down.
- Head: Tiny tilt toward the camera side.
- Great for: Business‑casual, coffee shop, couch corners. Feels candid.
3) Bench Lean with Jacket Prop
- Setup: Sit on a bench or low wall. Place a folded jacket beside you as a prop.
- Hands: One hand loosely grips the jacket edge on your near side; the other rests on your far thigh with fingers together, soft.
- Posture: Slight forward lean from the hips; keep neck long.
- Feet: One foot forward, one under. Heels down. Toes at 10–15°.
- Great for: Outdoor lifestyle shots that stay grounded and grown‑up.
Angles, light, and head position: small moves, big payoff
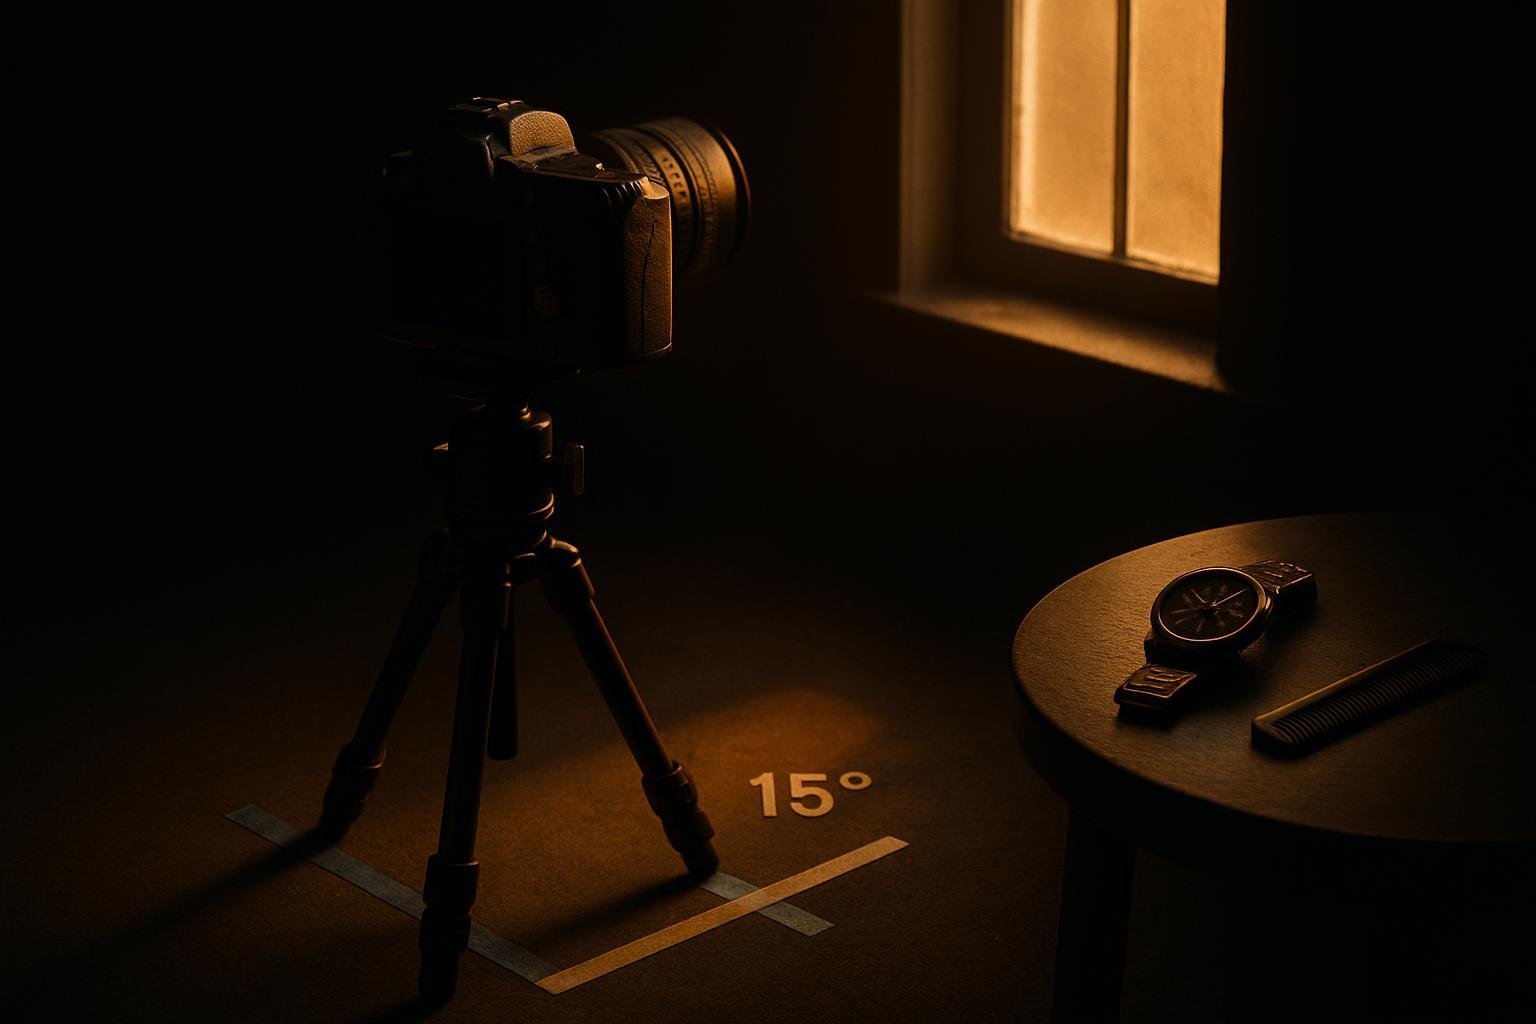
You don’t need model tricks. You need two angles, one light rule, and three head moves you can remember under pressure.
The two angles
- Body angle: 10–30° off the lens slims the frame and creates shape. Square to camera is for passports and mugshots.
- Camera height: Ask for the lens at or slightly above eye level. Too low = up‑the‑nostril and heavier jaw; too high = bobblehead.
The light rule
- Face the bright side, not straight on: Stand so the main light (window, open door, overcast sky) hits one side of your face more than the other — about 30–45°. It adds shape and tames shine. If hotspots persist, pat down and check our shine control guide.
Three head moves
- Lengthen, then settle: Grow an inch taller, then bring your ears forward 1–2 cm. Then nudge chin down 5–10 mm. This stacks the jaw cleanly.
- Micro‑tilt: A 2–5° tilt toward your front shoulder reads friendly; a tiny tilt away reads more serious. Pick one and hold for two frames.
- Eyes with intent: Look just past the lens for two beats to relax, then back into the lens for two beats. Breathe out as the shutter clicks.
If you want honest, specific notes on how your current photos land — jawline, posture, hand tension — run a free image audit with Suvant. You’ll upload three photos and get scored across eight categories with plain‑English reasons and next moves. The full plan turns improvements into quests with exact deliverables (like a barber brief) and re‑audits. It’s on the web at app.getsuvant.com.
For even cleaner faces and depth, review our lighting guide and pair it with these poses.
What to do with your hands (and pockets, and props)
Stiff hands ruin otherwise solid posture. Give them clear jobs and a couple rules so they don’t float or clamp.
Rules that keep hands calm
- One‑hand rule: Put one hand to work; keep the other relaxed. Two busy hands look fussy.
- Thumb hooks beat fists: Hook a thumb in your pocket with fingers out. Never bury both hands; one is fine, two reads defensive.
- Create air: Show daylight at the wrists and elbows. A 2–4 cm gap slims the torso line.
- Props with purpose: Jacket edge, sunglasses (closed), coffee cup (no logo toward camera), car keys (pocketed after one frame). Avoid phones in hand; stash them.
- Jackets: For standing, button the top button on a two‑button jacket, then unbutton when you sit. It cleans lines instantly.
Placement cheat sheet
- Casual standing: Thumb of near hand in pocket; far hand pinches jacket hem or adjusts cuff.
- Smart casual: Crossed arms low with hands tucked lightly, watch visible, shoulders down.
- Seated: Forearms on thighs, fingers interlaced loosely, or one hand over the other at mid‑thigh.
Quick fix if you feel awkward
- Roll your shoulders down, shake your hands once, exhale, reset one hand to a job, and go again.
- Ask for a mid‑action frame: “Grab a shot while I button this,” then finish the button and hold one beat.
Scripts to steer the shooter, plus distance and framing
You don’t need to direct like a pro. You just need 15 seconds of clear asks. Here’s exactly what to say.
What to say to a friend or photographer
- Angle request: “Can you stand a step to my right and keep the lens around eye level?”
- Distance: “Let’s do one full‑body from 10–12 feet, then a closer chest‑up from 6–8 feet.”
- Light: “I’ll face the window at a slight angle; if my face looks flat, shift 30°.”
- Reps: “Give me three frames per pose while I hold the hand placement.”
Framing checkpoints
- Full‑body: Leave a little space above the head; don’t crop at ankles. Show the ground your feet are on.
- 3/4 crop: Crop mid‑thigh or mid‑forearm, never at joints. Keep shoulders relaxed.
- Headshot: Eyes on the top third line of the frame. Lens at or slightly above eye level.
Wardrobe micro‑adjustments before the click
- Smooth the shirt placket and pull the hem once to remove twists.
- Center the belt buckle; tug the jacket collar so it sits flat on the neck.
- Empty front pockets. Hide hair ties and AirPods cases.
Want objective notes on which pose and crop work best with your build and outfits? Suvant’s image audit scores your photos across face, hair, skin, body, style, grooming, photos, and presence with plain‑spoken reasons. The audit is free; the full plan (quests, XP, monthly re‑audits) is $89/yr with a money‑back guarantee if it’s not useful.
A five‑minute practice plan so it sticks
Reps beat talent. Run this once and you’ll be faster and calmer on camera.
- Minute 0–1: Warmup. Stand tall, roll shoulders down twice, shake hands once. Take two slow breaths out.
- Minute 1–2: The 10‑second fix. Run the full sequence twice: feet angle, hips turn, weight back, ears forward, chin down, one hand to work, eyes soften.
- Minute 2–3: Standing reps. Hit each standing pose for three beats. Have a mirror or front camera on video — you’re checking angles, not judging your face.
- Minute 3–4: Seated reps. Edge‑of‑seat lean, then Ankle‑Cross, then Bench Lean motion. Reset pockets and jacket each time so lines stay clean.
- Minute 4–5: Screenshots. Record 30 seconds of you rotating 0–30° while adjusting a cuff. Pull three frame grabs that look the most like you on a good day. Label them “A,” “B,” and “C.”
Keep those three in an album. Before any shoot, glance at them and copy the stance and hand placement. If you want a third‑party gut check on which frames actually read confident and natural, run them through Suvant’s free audit and follow the next‑step quests. No app download — it’s a web app.
Get the honest audit you've never gotten.
Three photos, eight scores, the real reasons behind each number, then a ranked plan to fix them one move at a time.
Get my free audit →