Smile in Photos Without Looking Forced
- Use a 10-second pre-shot checklist: posture, chin forward-and-down, squinch, exhale, slight asymmetry.
- The squinch (lower lids slightly engaged) and a soft exhale remove the “deer-in-headlights” look.
- Set your jaw: tongue to the roof of your mouth, teeth lightly apart, show 2–4 mm of upper teeth.
- Practice in burst mode: 3 rounds of 15 frames with cues, then star your top 3 to lock muscle memory.
- Groom for a cleaner smile: trim mustache off the lip, hydrate lips, manage shine, and choose collars that frame the jaw.
The 10‑Second Checklist for a Natural Smile
Here’s the short answer you can use today. Before the shutter clicks, run this exact sequence. It takes about ten seconds and removes 90% of the stiffness.
- Posture first (1 sec): Stand tall, weight slightly on your back foot. Roll shoulders up-back-down once. Head to camera at a slight 10–15° turn.
- Chin cue (1 sec): Push your chin forward 1 cm, then down 1 cm. This sharpens the jaw and prevents neck folds.
- Jaw and tongue set (1 sec): Rest the tongue on the roof of your mouth just behind your front teeth. Keep teeth lightly apart. No clenching.
- Eyes: squinch (1 sec): Gently engage lower lids as if you’re focusing across a room. Not a squint—just 10–20% engagement to add warmth.
- Breath: soft exhale (2 sec): Take a quiet inhale through the nose. Exhale through the mouth like you’re fogging a mirror—softly. Let the lips fall into place mid-exhale.
- Mouth shape (2 sec): Think “mmm” then “cheese” in half-volume. Show 2–4 mm of upper teeth only. Corners rise slightly; avoid stretching wide.
- Asymmetry (1 sec): Lift one corner 5–10% more than the other. Micro-uneven looks human and relaxed.
- Eyes to camera (1 sec): Focus just above the lens. Think of someone you like walking into the room. Click.
That’s the routine. Do it the same way, every time. You’ll feel the stiffness leave your face right after the exhale.
Choose Your Smile Intensity for the Situation
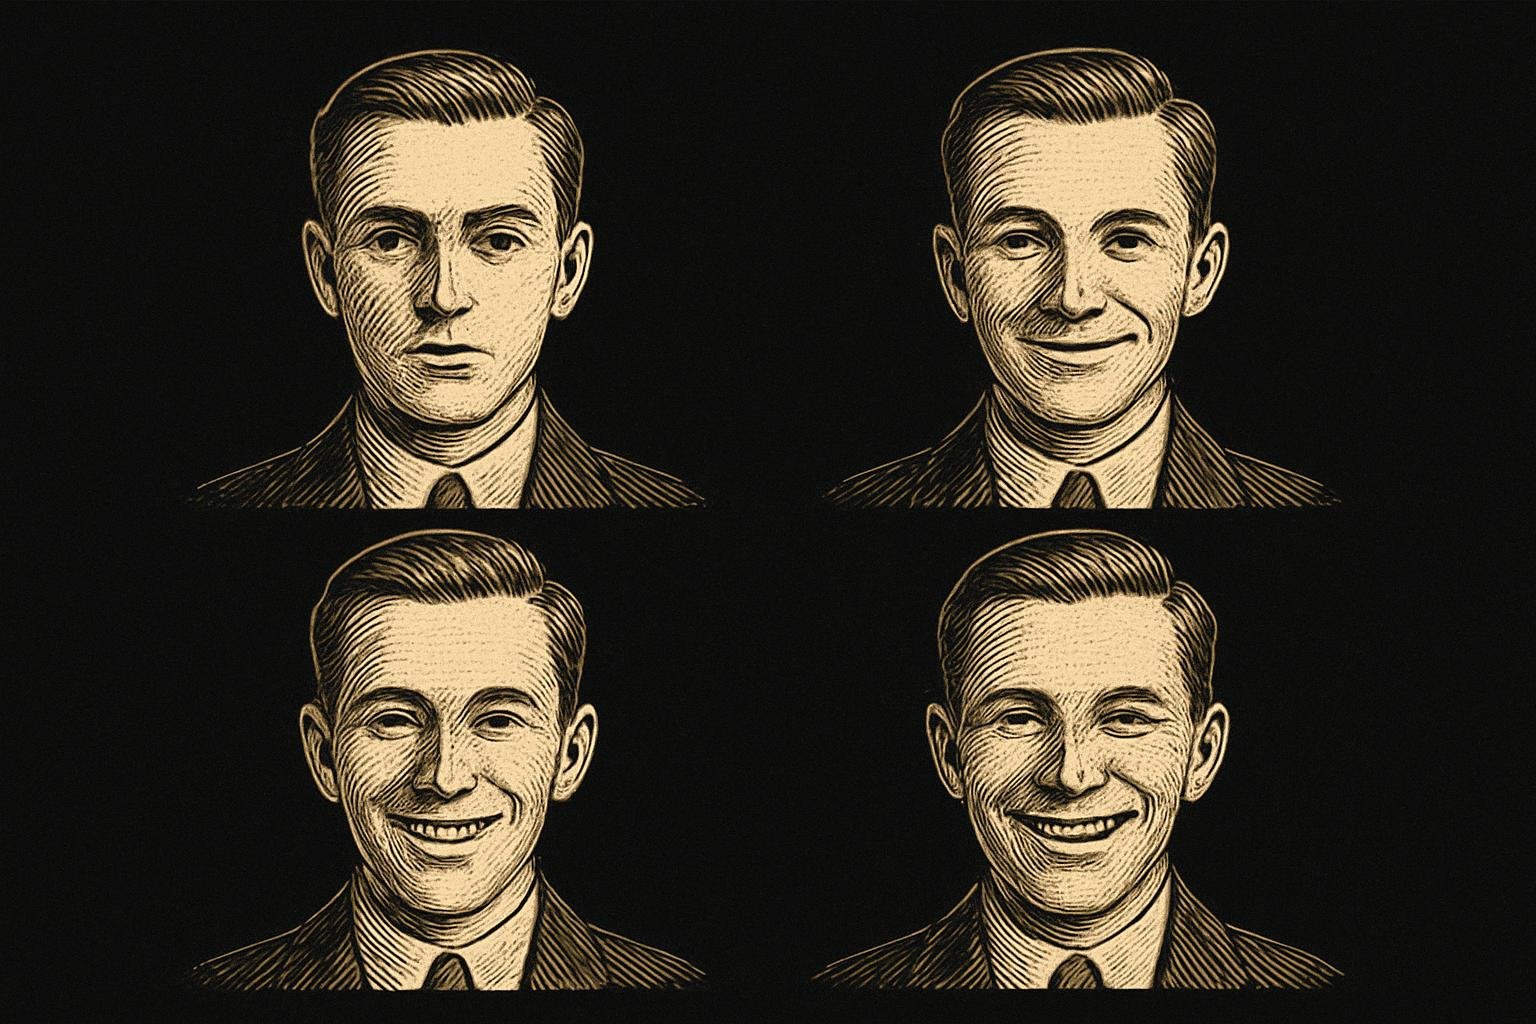
A good smile is the right smile for the context. Pick an intensity, then run the checklist. Three reliable options:
1) Closed‑mouth, friendly
- Use for: LinkedIn, formal group shots, when you’re not feeling showy.
- Cues: Tongue up, teeth apart, lips lightly sealed; engage the squinch; lift corners 10–20%.
- Result: Calm, competent, not stern.
2) Soft open smile
- Use for: Dating photos, casual portraits, travel shots.
- Cues: After the exhale, part lips to reveal 2–4 mm of upper teeth. Keep lower teeth mostly covered. Corners at 30–50%.
- Result: Warm without trying too hard.
3) Broad grin (controlled)
- Use for: Candid laughs, celebrations, a hero photo on a personal site.
- Cues: Exhale, then ride the smile up to 70–90%. Keep eyes engaged; don’t yank the corners to your ears. If gums show easily, slightly lower the upper lip by saying a soft “uh.”
- Result: Big energy, still photogenic.
Facial hair notes: If you wear a mustache, trim 1–2 mm above the vermilion border (the pink of your lip) so the upper teeth line isn’t hidden. If a beard bulks your jaw, keep the undercarriage tight to avoid swallowing your lower face when you smile.
The Mechanics That Make Smiles Look Real
Acting natural on command is a skill. These mechanics keep you out of the fake zone.
- The squinch, not a squint: Think of narrowing just the lower lids as if you’re smiling with your eyes. Try a 10–20% lower-lid lift while keeping brows relaxed. This adds warmth and prevents the startled look.
- The exhale trick: Many forced smiles come from held breath. Nose inhale; mouth exhale like a quiet “ha.” Start the smile mid-exhale. The jaw unhooks and the lips settle into a curve instead of a stretch.
- Jaw position: Tongue up, teeth apart, no clench. Imagine a blueberry between your molars—don’t crush it. This keeps the masseters from bulging.
- Chin forward and down: Push the chin out 1 cm and down 1 cm. It’s counterintuitive but it defines your jaw and clears the neck, especially when you’re smiling.
- Micro‑asymmetry: Lift one corner a touch more or angle your head 5–10° to avoid a passport-photo stiffness. Real faces aren’t perfectly symmetrical; your photo shouldn’t be either.
- Eye line: Look just above the lens, not into the intimidating glass. You’ll open your eyes naturally without widening them.
- Word prompts: Whisper “mmm” for lip shape, then “cheese” at 50% volume. That sequence gives you the right mouth curve without a face stretch.
String these together in the same order and the expression lands without drama.
A 5‑Minute Burst‑Mode Practice That Locks It In
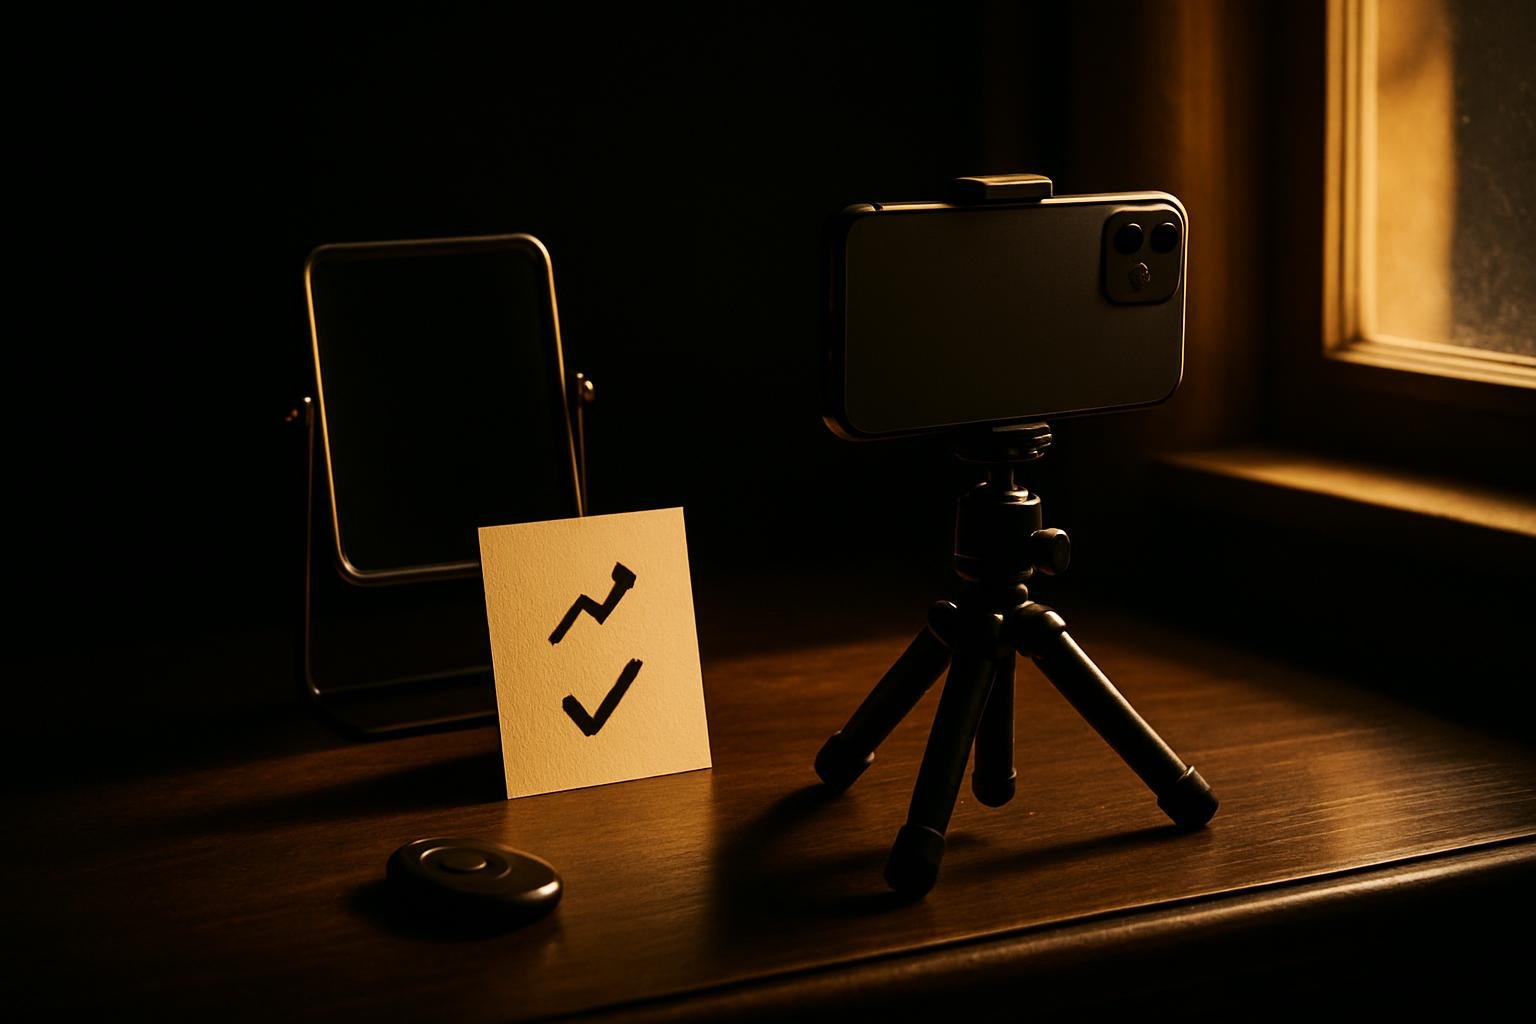
If you only rehearse when someone says “say cheese,” you’ll default to old habits. Do this micro‑drill three times this week. It takes five minutes and gives you proof.
- Set up (1 min): Stand near a window with indirect daylight. Place the camera at eye level on a shelf or tripod. Clean the lens.
- Enable burst: On most phones, hold the shutter or use the volume key—check yours once. Set a 3‑second timer so you can reset between bursts. If available, turn on voice shutter (“shoot” or “smile”).
- Round 1 — Closed‑mouth (1.5 min): Do the checklist. Run five bursts of three frames each. Between bursts, shake it out and reset.
- Round 2 — Soft open smile (1.5 min): Same setup. Add the exhale and show a sliver of upper teeth. Five bursts, three frames each.
- Round 3 — Broad grin (1 min): Ride the smile bigger. Keep eyes engaged and chin forward‑down. Three bursts, three frames each.
- Review (30 sec): Star the best three shots total. Note what worked in 1–2 words each: “chin fwd,” “exhale,” “30% corners.” That’s your cue card for real photos.
Tip: Compare your first and last round. You’ll see tension drop and eyes come alive. That’s the exhale plus squinch doing work.
If you want blunt feedback on which frames actually read confident, Suvant’s image audit can help. Upload three photos at app.getsuvant.com and you’ll get scored across eight categories with the real reasons behind each number, plus next moves. It’s free to try, and the full plan includes exact deliverables like a photographer brief.
Grooming That Supports a Better Smile
Your smile lands better when the small details aren’t fighting it. Run this prep before photos.
- Lips: Dry lips crack under light. Apply a thin layer of clear balm 10 minutes before the shoot; blot once with tissue so there’s no shine.
- Mustache line: Trim 1–2 mm above the top lip so teeth aren’t hidden. Comb down first, then clip horizontally; check both corners.
- Beard cleanup: Keep the area just left and right of the smile lines tidy. Flyaways around the corners of the mouth catch light and look messy. Use a small dab of matte beard balm to tame.
- Teeth appearance: Brush and floss; avoid foods that stain right before a shoot (dark coffee, red wine). For whitening or alignment questions, see your dentist; stay in what’s healthy for you.
- Shine control: Forehead and nose glare make eyes look harsher. Blot with oil‑absorbing paper, or dust a light transparent matte powder. No heavy layers.
- Collar and neck: A crisp crew, henley, or button‑down collar frames the jaw. Avoid stretched collars that slump into the neck. A heavier knit in darker tones can slim and define.
- Glasses: If you wear them, clean the lenses and nudge the nose pads so frames sit slightly lower than brow height; it opens the eyes for the squinch.
For wider body language that supports your face, see our guide on posture and presence. A settled stance calms the mouth and eyes before you even start the checklist.
Angles, Prompts, and Context: Dating vs. Professional
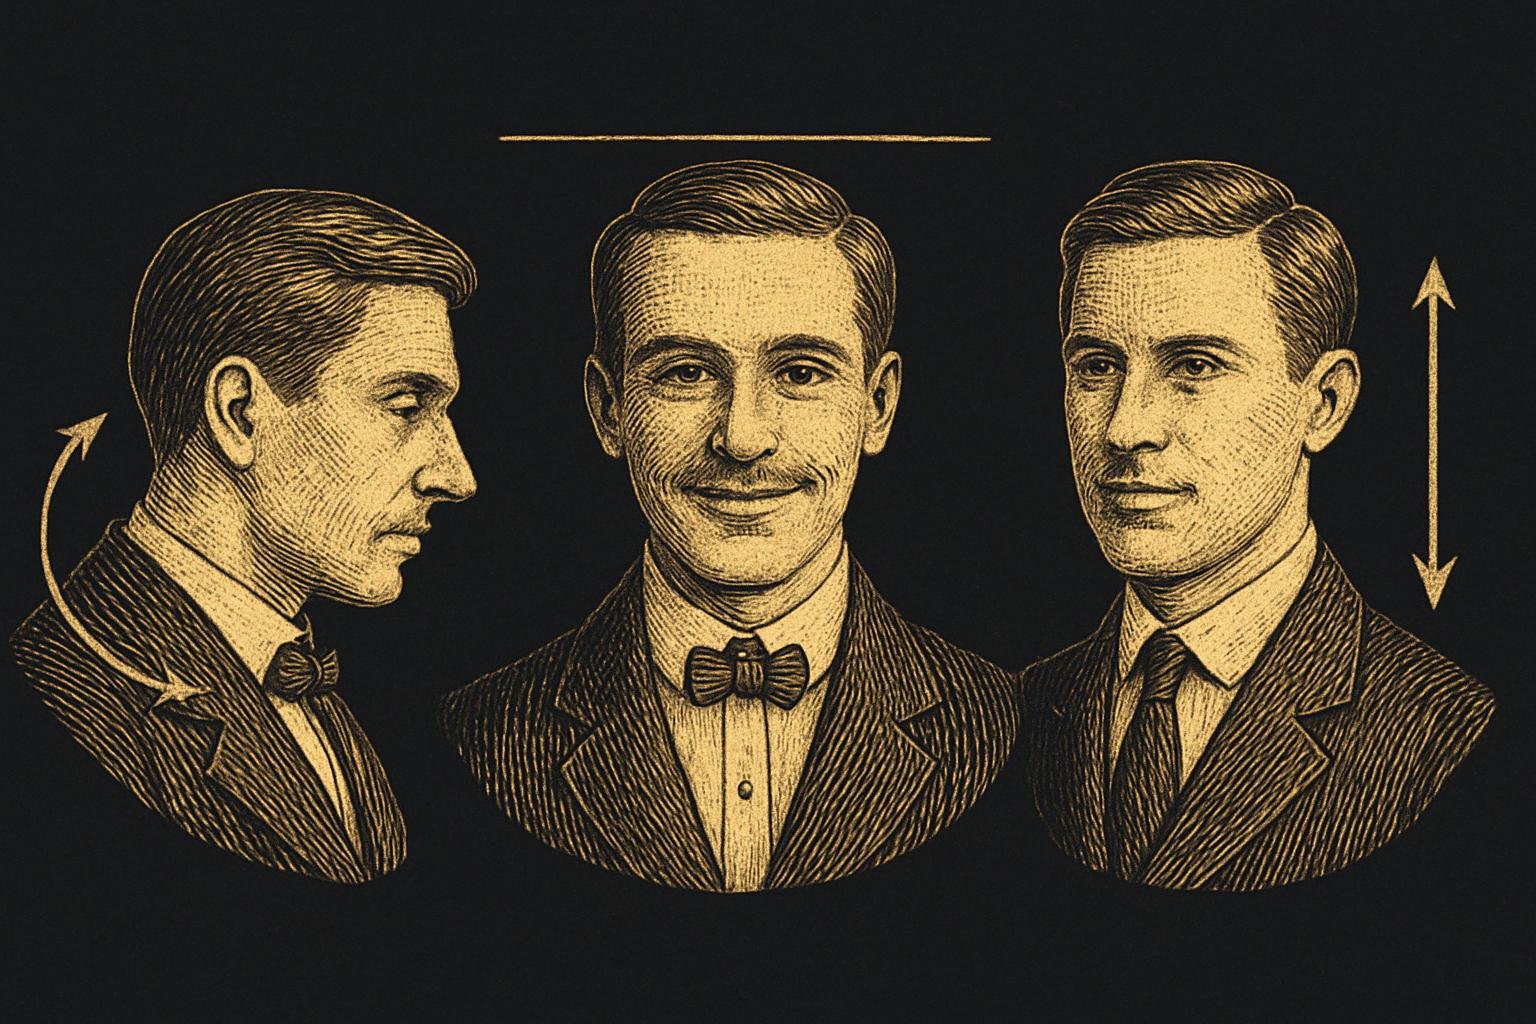
The same smile reads differently depending on angle and setting. Use these quick rules and prompts.
Angles that flatter most men
- Camera height: At or just above eye level. Too low and the smile dominates your lower face.
- Distance: For portraits, 1–2 meters from the lens. For selfies, extend your arm and lock the elbow; don’t crowd the camera.
- Head turn: Rotate 10–15° off center. Then do chin forward‑down. A slight tilt (2–3°) can help the micro‑asymmetry.
- Shoulders: Angle them 10–15° away from the lens so your neck lengthens and your smile sits in a cleaner V between collar points.
Prompts to sound human on set
- To the photographer: “Give me a three‑count. I’ll exhale on two.”
- To yourself: “Mmm… cheese.” “Chin out, down.” “Eyes warm.” Short cues keep you from overthinking.
- For a real laugh: Blow a small puff of air out your nose like you just heard a joke. It lights the eyes without a fake guffaw.
Dating profile vs. professional headshot
- Dating: Lead with a soft open smile or a calm neutral plus one smiling second shot. Aim for clean daylight, simple background, and clothes you’d wear on a first meeting. See our guide: dating profile photos for men over 40.
- Professional: Closed‑mouth or soft open. Keep the expression at 20–40% intensity. Neutral background, tidy collar, and light from slightly above eye level. If you’re unsure where to draw the line, read LinkedIn headshot vs. dating photo to see how the rules shift.
Want an outside eye? Suvant’s audit doesn’t just judge a single frame. It shows you how face, grooming, and presence add up and turns that into a ranked plan, complete with a photo brief you can hand to any shooter. It’s on the web at app.getsuvant.com, and there’s a money-back guarantee on the full plan.
Get the honest audit you've never gotten.
Three photos, eight scores, the real reasons behind each number, then a ranked plan to fix them one move at a time.
Get my free audit →