Where Your Hands Go So Photos Feel Natural
- Pre-load 3–5 hand positions so you never freeze when the lens points your way.
- Use light contact—pockets, belt, cuff, watch, or a prop—to give hands a job and relax your shoulders.
- Thumbs-only in pockets reads casual; full hands in pockets reads formal-calm—mix them across the set.
- Seated photos favor asymmetry: one hand anchors, the other expresses or rests lightly.
- Avoid fists, flat “flippers,” phone-in-hand, and hidden hands; show at least 70% of one hand.
Quick answer: 5 placements that always work
You’re not the problem. Blank hands are. Give your hands a job and your posture calms down. Start with this five-move menu. Cycle them every 2–3 frames.
- Thumbs-in pockets, fingers out. Casual and confident. Keep thumbs hooked, fingers relaxed outside the pocket. Elbows angle slightly back to open your torso. Works with jeans, chinos, and an unstructured jacket.
- One hand pocket, one hand gesture at chest height. The gesture is small—think 2–4 inches of movement, palm angled 45° to camera, fingers softly curved. Say out loud: “On one,” then make the gesture on the count so it looks intentional.
- Light jacket/hem touch. Pinch a jacket edge or shirt hem with thumb and index finger only. No tugging. This creates a clean triangle with your arms and keeps hands visible without fidgeting.
- Watch or cuff check. Turn your wrist slightly toward camera and use the opposite hand to touch the watch or straighten a cuff. Two seconds, then release. It reads mid-action without gimmick.
- Hold a small prop at waist level. Sunglasses, a takeaway cup, keys on a loop. Keep it between belly button and chest, close to the body, not out toward the lens. Prop should be matte, neutral, and smaller than your palm.
Standing rule of thumb: show 70–100% of at least one hand. Hidden hands feel tense or sneaky. Soft curves beat straight fingers. Relax the thumbs first, then the jaw.
Standing poses: hands that build shape
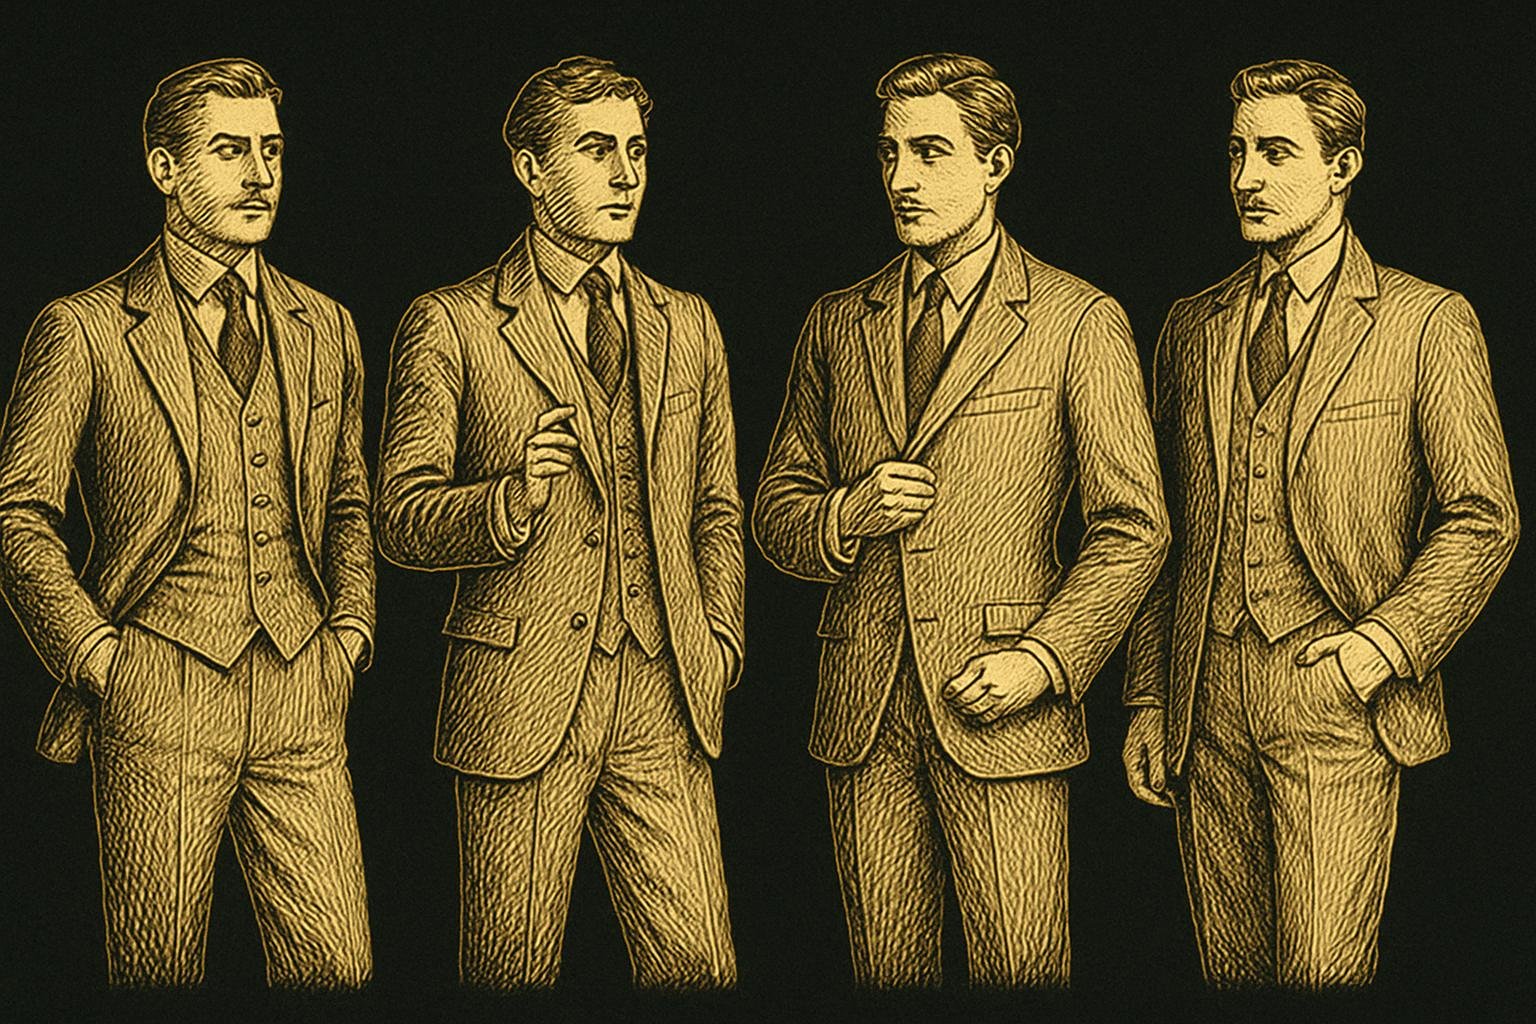
Standing photos need structure. Your hands create angles that break up the body into strong lines. Pick one from each category below: anchor hand + expressive hand.
Anchors (pick one)
- Thumbs-only in front pockets: Fingers outside, thumbs hooked. Great for denim and chinos. Keep pockets empty so fabric lies flat.
- Full hand in pocket (front): Slide the whole hand in but leave the thumb resting on the outside seam. Formal-calm. Works with trousers and a blazer.
- Belt grab: Hook the thumb over the belt near the side seam, fingers relaxed on the waistband. Avoid center-front “cowboy belt buckle” unless that’s the vibe.
- Jacket button stance: If the jacket is buttoned, place one hand just below the button, lightly touching the placket with two fingers. If unbuttoned, pinch the edge near your ribs. No tugging.
Expressive hands (pair with an anchor)
- Micro-gesture: A 3–4 inch hand movement while you talk: “Yeah,” “This much,” “Over there.” Palm at a 30–60° angle to camera, never flat-on.
- Object carry: Hold sunglasses by the bridge, a folded paper, or a slim notebook. Keep elbow bent, object close to the torso.
- Phone away, not in-hand: If it’s in the photo, put the phone in a pocket or on a surface. A phone-in-hand locks your wrist and looks tense.
Pocket rules
- Front vs. back pockets: Front pockets are safe. One thumb in a back pocket can work in side angles, but avoid both hands in back pockets—hips flare, shoulders cave.
- Both hands in pockets: Use once per set for a calm look. Stand tall, chest open, weight slightly on your back foot.
Angles and weight
- Quarter turn: Turn your body 15–30° off camera. Anchor hand on the camera-side pocket or jacket edge to carve a V shape.
- Weight shift: Put 60–70% of your weight on the back foot, front knee soft. The hands will relax because your hips are stacked.
Script to reset between shots: “Give me two beats—switching pockets.” Move slow, exhale through the nose, then re-engage eye contact.
Seated poses: hands that don’t collapse you
Chairs and benches make guys curl forward. Keep your torso tall by anchoring lightly and avoiding palm plants that flatten the hands.
On a chair (no table)
- Ankle-on-knee or foot under chair: Rest the far-side ankle on the knee, then place the near-side hand on the top ankle—not the knee—fingers together, light touch. The other hand goes to a pocket or jacket edge.
- Both feet down, slight lean: Place one forearm across the top of your thigh, hand dangling softly over the knee (not a fist). The other hand pinches the jacket hem.
At a table or desk
- Fingertips, not palms: Rest fingertips lightly on a mug or the table edge. Palms down look like paddles.
- Object anchor: Hold a pen, fold a napkin, or cradle a cup with one hand while the other rests on your thigh. Keep wrists straight, not collapsed.
Sofa or bench
- Asymmetry wins: One hand back on the cushion behind you (not visible), the other visible on a knee or pocket. If both hands vanish, bring one forward immediately.
- Jacket check: Before sitting, pull the hem out from under your hips. Then do a quick cuff straighten as your visible hand move.
Two-beat routine when seated: sit, exhale, place anchor hand, then place expressive hand. If you fidget, reset to pockets or cuff.
If you want a full-body composition to match these hand placements, see this full-body guide.
What to hold: props that help, not hijack
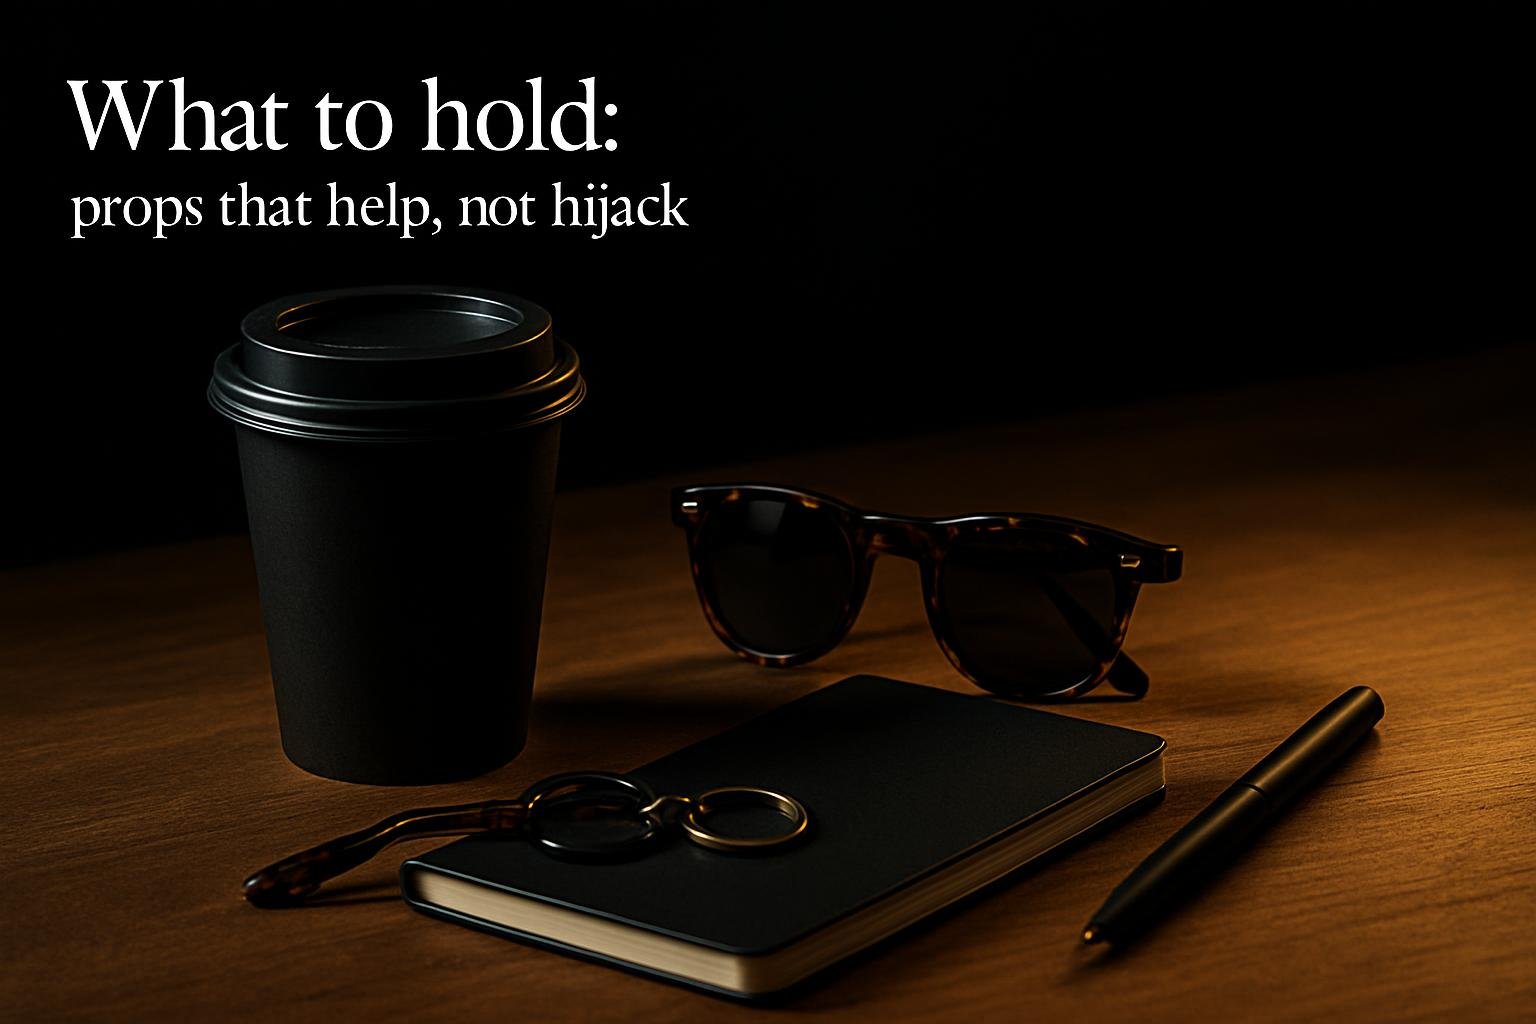
Good props give your hands a job and say something about the setting. Bad props steal the frame. Use this checklist.
Green-light props
- Sunglasses: Hold by the bridge, lenses facing down. Keep them below chest height.
- Takeaway cup or water bottle: Paper cup with lid beats branded plastic. Hold near the body with a gentle bend in the elbow. One hand only.
- Keys on a loop: One or two keys, no bulky fob. Let them hang from a finger curl at waist height.
- Notebook or folded paper: Tuck against ribs in your off-hand. Avoid large folders.
- Jacket over shoulder: Drape lightly; don’t hook the finger in the collar. Use the crook of the finger under the shoulder seam; the other hand goes in a pocket.
Yellow-light props (use sparingly)
- Bag or brief: Hold by the short handle, close to the leg. Avoid cross-body straps across your chest unless it’s a streetwear look.
- Hat: Hold by the brim, tilt down. Never by the crown—fingers splay awkwardly.
Red-light props (skip)
- Phone in hand: Unless it’s a deliberate “calling” concept, put it away. It stiffens wrists and dates the photo.
- Food: Messy visuals, awkward fingers.
- Bulky gadgets: Game controllers, giant headphones—they pull focus from your face.
Rule: Prop smaller than your palm, matte finish, neutrals only. If it shines or shouts, it owns the shot.
Need honest feedback on which props and placements read best on you? Suvant’s free image audit at app.getsuvant.com scores your photos and explains exactly why a hand pose works or not, then turns those notes into quests you can run on your next shoot.
Body types and jackets: how hands change shape
Your hands can slim, square, or lengthen your frame. Use them to draw lines that flatter what you’ve got. This is about framing, not hiding.
If you carry weight in the midsection
- Diagonal lines: One hand on the jacket edge near the ribs; the other in the opposite-side pocket. This creates a slimming X.
- Keep elbows off the belly: Don’t press forearms into the torso. Hold the prop slightly away from the stomach at midline.
- Seated: Anchor hand to the ankle or thigh top, not the waist. Waist touches add bulk.
Tall or broad guys
- Break the vertical: Use a horizontal hand move—watch check or cuff adjust—at chest height to cut the frame into thirds.
- Open hands, not fists: Large frames plus fists read aggressive. Slight finger curve and visible thumb softens without losing presence.
Lean or narrow builds
- Widen the silhouette: Thumbs-in pockets with elbows slightly out creates width. Avoid pinning arms flat to the body.
- Layer assist: If wearing a jacket or overshirt, lightly pull the hem forward with both hands for one frame, then release into one-pocket stance.
With jackets and coats
- Unbuttoned blazer: Pinch the placket near your ribs with one hand. The other hand pockets. Avoid both hands yanking outward—one frame only if at all.
- Buttoned blazer: Place one hand just below the button, fingers together. Or do a quick cuff-show: tug the sleeve back 1/2 inch with the opposite hand, then drop.
- Topcoat: Slide one hand into the coat pocket and let the other rest at the lapel notch—two fingers only.
Glasses on? Use a micro touch: with the off-hand, lightly touch the temple (side arm) for one beat, then release. Don’t grab the frame front.
For full posing that matches these hand shapes, pair this with our posing guide and how to smile without freezing.
Mistakes to avoid—and fast fixes
Common mistakes
- Fists or flat “flippers”: Both read tense. Solution: curl fingers 10–20°, show the thumb.
- Hidden hands: Both hands out of view looks awkward. Solution: show at least one whole hand, or 70% of both.
- Phone clutch: White-knuckle phone grip. Solution: pocket it; pick up a neutral prop if needed.
- Hands too far from the body: They look huge toward the lens. Solution: keep hands in the torso plane.
- Symmetry trap: Both hands doing the same thing = stiff. Solution: anchor + express.
Fast resets (5-second routine)
- Exhale: Shoulders down; shake wrists once.
- Anchor: Thumbs-in pocket or jacket edge.
- Express: Small gesture or cuff check.
- Chin: Forward 1/2 inch, down 1/2 inch.
- Count: “Three, two”—shoot on the one when your hands settle.
Micro-scripts to give the photographer
- “Going pocket to cuff.” They’ll wait as you switch.
- “One frame with sunglasses, then clean.” Adds variety without overusing props.
- “Quarter turn, anchor left.” Reminds you which hand is doing what.
Practice game plan and shoot-day checklist
Reps beat theory. Ten minutes a day for three days will make this automatic. Use your phone’s selfie camera as a mirror—no photos necessary.
3-day drill (10 minutes each)
- Day 1: Anchors only. Cycle: thumbs-in pockets, full hand in pocket with thumb out, belt hook, jacket placket. Hold each for 5 slow breaths. Watch shoulders and jaw drop.
- Day 2: Add expressive hands. Pair each anchor with a micro-gesture and a cuff/watch check. Keep gestures 3–4 inches. Record 30 seconds to see finger tension.
- Day 3: Props and seated. Run sunglasses, cup, keys. Then do chair poses: ankle-on-knee anchor, thigh-drape hand, table fingertip rest. Review and pick your favorite 4 poses.
Shoot-day checklist (copy/paste)
- Empty front pockets. Smooth fabric reads cleaner and hands slide easily.
- Pick one small prop. Keep it neutral and matte.
- Commit to four hand setups: 2 standing, 2 seated.
- Count out loud for transitions: “Two beats—switch.”
- Avoid fists, phones, mirrored hands. Show at least one whole hand.
Want objective notes on which of your four setups actually lands on camera? Upload three photos to Suvant’s free audit. You’ll get scores across eight categories—face, hair, skin, body, style, grooming, photos, presence—with the reasons behind each number, then quests like a printable barber brief or pose list. The full plan is $89/yr with a money-back guarantee, but you’ll get a strong start from the free audit alone.
When your hands are dialed, build the rest of the frame with pose basics and full-body framing. Round it out by practicing a relaxed smile here: how to smile in photos.
Get the honest audit you've never gotten.
Three photos, eight scores, the real reasons behind each number, then a ranked plan to fix them one move at a time.
Get my free audit →