Set a Clean Beard Neckline at Home
- Place your neckline two finger-widths above the Adam’s apple, then curve a shallow U from behind each earlobe into that point.
- Trim in three passes: outline with no guard, clean bulk with a short guard, then fade the edge with a longer guard.
- Keep your chin level when mapping; lifting your head sets the line too high once you look straight.
- Recheck symmetry by turning your head left/right; the lowest point should match on both sides.
- Maintain every 2–4 days for stubble beards and weekly for longer beards to keep the jawline sharp.
The exact neckline location (answer first)
Your neckline isn’t your jawline. It lives on the upper neck. Set it right and your jaw looks cleaner and stronger. Here’s the quick placement you can trust:
- Find the center point: Look straight in the mirror with your chin level (not tilted up). Place two finger-widths on top of your Adam’s apple. The top of your fingers is the center low point of your neckline.
- Mark the side anchors: Slide a finger behind each earlobe to the soft hollow where your jaw meets your neck (the angle of the jaw). That’s your side anchor area.
- Draw a shallow U: Visualize or lightly mark (with a washable eyebrow pencil) a gentle U-shape from just behind the left earlobe down to the center low point, and back up to just behind the right earlobe. Keep the curve smooth—no V or straight horizontal line.
- Check head position: Keep your head level while mapping. If you look up, you’ll set it too high and lose definition when you look straight.
- Depth check: The line should sit on the neck, not under the jawbone. If it touches the underside of your jaw, it’s too high.
Memorize this: two fingers above Adam’s apple, shallow U to behind each earlobe, head level. That’s your home base.
Tools and setup that make this easy
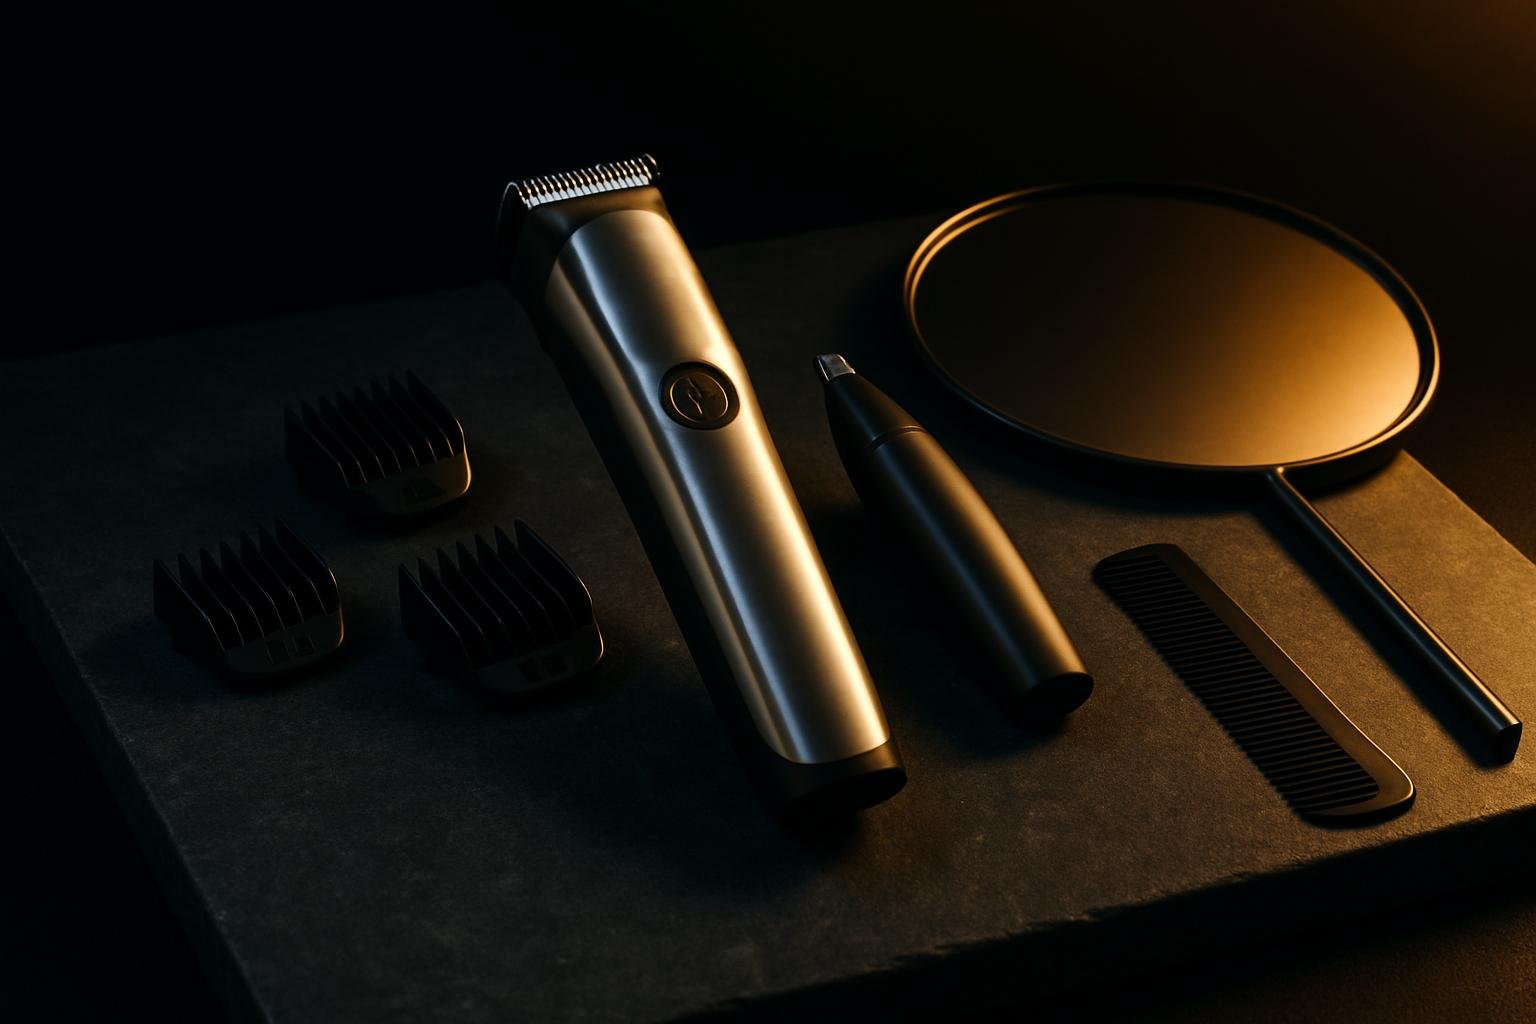
Minimum kit
- Beard trimmer with guards (0.5–12 mm range is plenty)
- Detail trimmer or the trimmer’s bare edge (for outlining)
- Washable pencil or barbers’ liner (optional but helpful)
- Hand mirror (to see under the jaw) and a main mirror with good light
- Face towel and cool water to rinse hair off the neck
Prep in 3 minutes
- Soften, don’t soak: Trim after a warm shower or splash warm water on the neck. Pat dry so hairs stand, not stick.
- Comb down: If your beard is longer than stubble, comb it down so the bulk sits naturally.
- Set lighting: Bright, even light from the front. Avoid only-overhead light—it hides the curve you’re drawing.
Guard guide
- Stubble beards: 3–5 mm on the beard body, 1–2 mm to clean the neck, then 3–4 mm to softly fade the border.
- Short/medium beards: Use 6–9 mm for the beard body, 1–2 mm below the line to clear, then 3–6 mm a finger-width above the line to blend.
Step-by-step: map, carve, clean, and fade
1) Map the line (60 seconds)
- Stand straight, chin level. Place two finger-widths above your Adam’s apple to find the center low point.
- Lightly mark a dot there with a washable pencil.
- Touch the hollow behind each earlobe (jaw–neck corner). Lightly mark where your curve will rise toward on each side.
- Connect the three marks in a gentle U with dotted pencil marks. Symmetry beats perfection—get both sides close.
2) Carve the outline (2–3 minutes)
- Flip your trimmer to no guard. Use just the edge of the blade like a pen.
- Starting at the center low point, carve the line upward toward one side in short, light strokes. Repeat for the other side. Think “sketch,” not “mow.”
- Keep your chin level. Do not crane your neck up while cutting.
- Use a hand mirror to check the curve under the jaw from both angles.
3) Clear the neck below the line (1–2 minutes)
- Attach a 1–2 mm guard. Trim everything below your outline down to near-skin length.
- If you prefer a totally clean neck, you can shave below the line after trimming. Keep the outline you carved as the hard stop.
4) Soften the edge (fade) (2 minutes)
- Attach a guard one step longer than you used to clear the neck (e.g., move from 1–2 mm up to 3–4 mm).
- With the trimmer angled lightly, make upward, flicking passes that straddle the line by about half a finger-width. This erases the harsh step and looks intentional.
- For longer beards (6–9 mm body), use 3–6 mm for this softening pass.
5) Symmetry check (30 seconds)
- Turn your head left, then right. The lowest point should be centered, and the left/right curve heights should match.
- If one side is higher, lower the other side to match. Don’t chase tiny millimeters; prioritize a smooth, even U.
Tight script to keep yourself honest
Say out loud: “Head level. Two fingers above Adam’s apple. Shallow U to behind each earlobe. Outline first. Clear below. Fade the edge.” It sounds silly. It prevents the classic too‑high cut.
Optional: connect to chest hair
If your chest hair rides high, clear a palm-width below the collarbone and taper up toward the neckline with a longer guard to avoid a sharp hair “border” at the base of the neck.
Want a second opinion on if your line suits your face, lighting, and photos? A Suvant image audit scores grooming and photos, then turns it into step-by-step quests—useful if you want a barber‑level brief for your next trim.
Visual guide: correct vs common mistakes
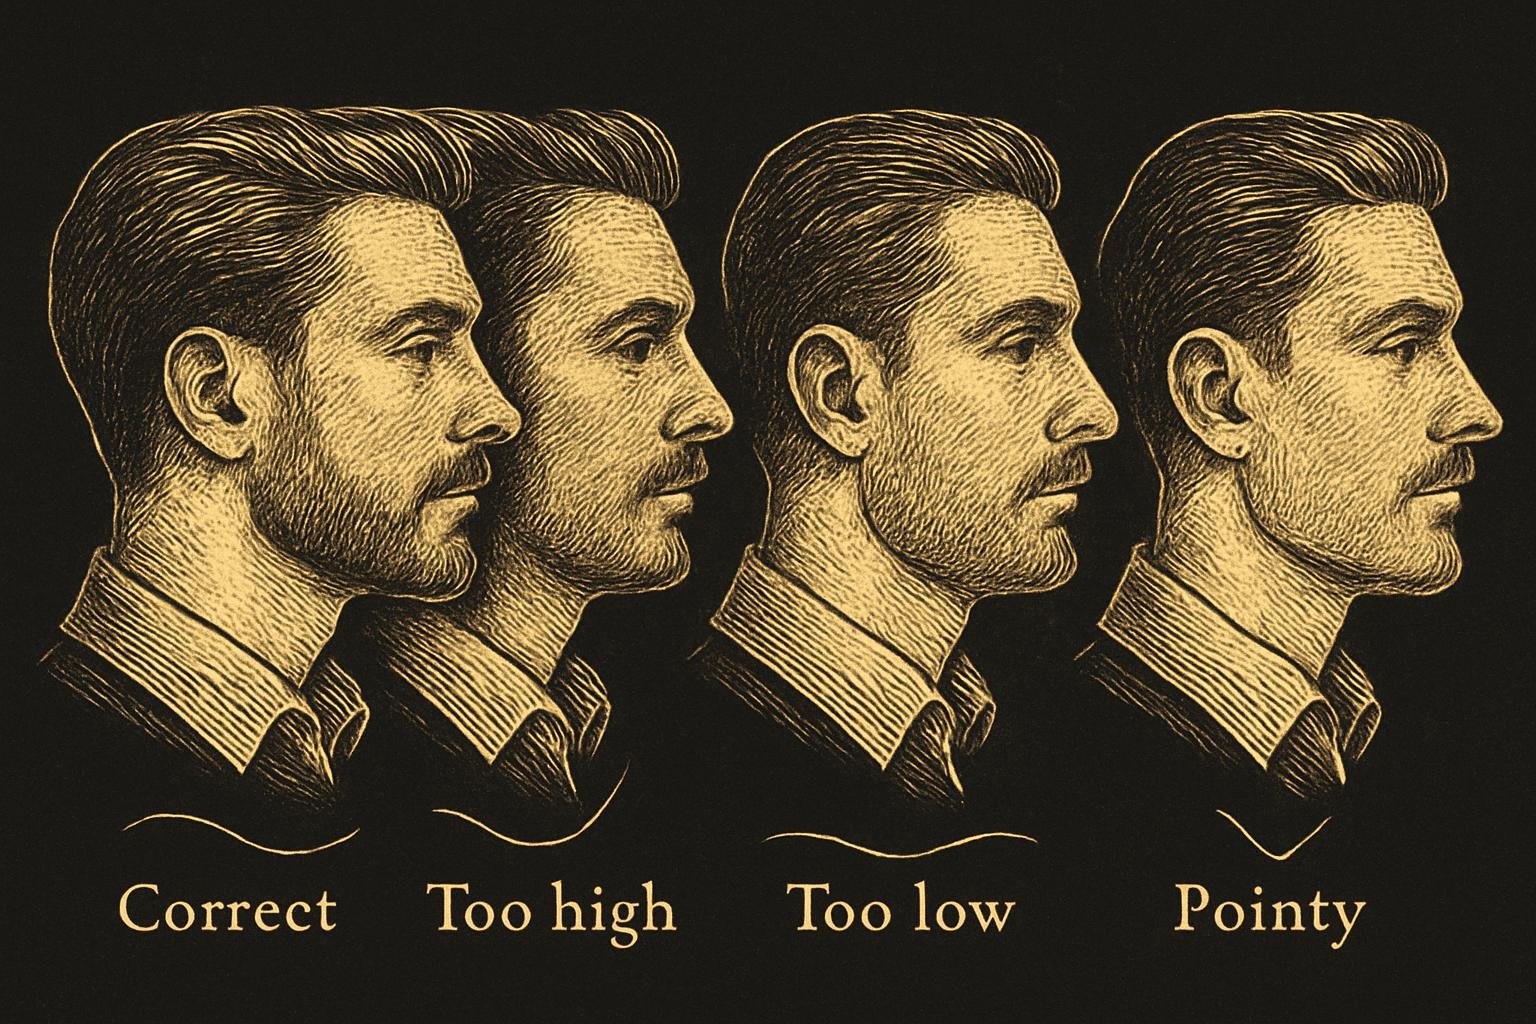
What a good neckline looks like
- Lowest point sits two finger-widths above the Adam’s apple, centered.
- Curve is a shallow U, not a V. It rises smoothly toward the angle behind each earlobe.
- Line is on the neck, not touching the jawbone.
- There’s a soft blend above the line, not a hard step.
Common mistakes
- Too high (jaw-hugging): Cuts under the jaw make the beard look thin and the face look longer. Fix by dropping the center point and rebuilding the U.
- Too flat or straight: A horizontal line reads harsh. Recurve it into a gentle U.
- Too low: If hair creeps toward the collarbone, it looks unkept. Bring the center up to the two‑finger point and clean below.
- Pointy V: Sharp triangles at the center look dated. Round the base with small upward strokes.
Adjusting for your face and beard style
- Round faces: Keep the U slightly deeper (a touch lower at center) to enhance vertical balance.
- Long faces: Keep the U slightly shallower (a touch higher at center) to avoid extra length.
- Short beards/stubble: Slightly tighter U. Definition matters more when hair is short.
- Longer beards: A broader U looks natural under the bulk. Prioritize a clean lower boundary and a gentle 1–2 guard blend above it.
Maintenance: how often and how to keep it sharp
How often
- Stubble beards (1–5 mm): Every 2–4 days. Takes 3–5 minutes.
- Short/medium beards (6–12 mm): Weekly for the neckline; beard body as needed.
- Long beards: Every 7–10 days. It’s mostly about keeping the border defined.
5-minute upkeep routine
- Rinse neck with warm water and pat dry.
- Quick map check: two fingers above Adam’s apple, head level.
- Outline touch-up with no guard in short strokes.
- Clear below with 1–2 mm guard or quick shave.
- Blend the edge with a one-step-longer guard using flicking strokes.
- Rinse, cool towel on the neck to calm skin, shirt on.
Collars and seasons
- Dress shirts and polos: Keep the center low point consistent. Err on the slightly higher side if your collar sits very close to the neck to prevent rub.
- Winter beanies and scarves: Friction lifts short hairs. Expect to maintain every 2–3 days.
For a broader beard tune-up, including cheek lines and overall shape, see our guide on beard styles for older men for silhouette ideas that age well.
Fixes when you cut it wrong
If you cut it too high
- Stop raising it: Don’t chase symmetry upward. That’s how you lose the line entirely.
- Drop the center: Re-map to two fingers above the Adam’s apple and redraw the U. Leave the too-high area to grow for 5–7 days.
- Soft disguise: Use a longer guard (3–4 mm) to blend the high edge into the beard body until it fills in.
If you cut it too low
- Reset now: Re-map and carve the correct U. Clear everything below immediately so the eye only sees the new line.
- Keep it clean: Maintain every 2–3 days for two weeks so the new boundary becomes the visual default.
If it’s uneven side to side
- Pick the lower side as your master: Match the higher side down to it. Lowering is easier than waiting on growth.
- Use landmarks: Check the distance from the center low point to each side’s peak. Make them match by eye and by finger-width.
When to tap a barber
If you’ve chased the line up over a few weeks, ask your barber to rebuild it and blend the regrowth. Hand over a simple brief: “Neckline center two fingers above Adam’s apple. Shallow U to behind the earlobes. Keep the jawline full. Blend above the line one guard up.” If you need help with language in the chair, read how to talk to your barber for clean scripts.
Necklines by beard length and style
Light stubble (1–2 mm)
- Definition does the heavy lifting. Keep the U a touch tighter. Clear below every 2–3 days.
- Fade one step up (3–4 mm) right above the line to avoid a hard step.
Heavy stubble/short beard (3–6 mm)
- Use the standard map. Consider a slightly deeper center if your face is round.
- Guard map: 1–2 mm below the line, 3–6 mm blend band above it.
Medium beard (7–12 mm)
- Broader U reads natural under more bulk. Keep the lowest point consistent and blend a full finger-width above the line.
- Comb down before trimming so you’re cutting to how it lives day to day.
Long beard (past the Adam’s apple)
- Your neckline is a cleanliness line more than a shape driver. Keep the curve consistent even if the beard covers it when relaxed.
- Clear strays on the throat weekly so shirts and jackets don’t snag.
Sideburn and cheek tie-in
- Keep sideburn width consistent with your beard’s fullness. Don’t let the neck taper be narrower than the sideburn—balance matters.
- Cheek line can be natural or cleaned. The neckline should never be higher than the bottom of your jaw’s curve.
If unruly nose or ear hairs distract from a crisp neckline, take 60 seconds to tidy them. Our quick guide on nose and ear hair maintenance shows painless, safe steps.
If you want objective eyes on where your neckline sits in photos, Suvant’s free image audit at app.getsuvant.com scores grooming and photos and turns the findings into quests you can act on. The full plan is $89/yr with a money-back guarantee if it’s not useful for you.
Get the honest audit you've never gotten.
Three photos, eight scores, the real reasons behind each number, then a ranked plan to fix them one move at a time.
Get my free audit →