No Glare: Get Clear Eyes in Every Photo With Glasses
- Move the light, not just your head: put the light 45° off to the side and slightly above or below the camera line.
- Micro-tilt your frames 5–10° by lifting the rear earpieces; it preserves your look but bounces reflections away.
- Turn your head 10–20° off camera and lower or raise your chin 1–2 cm to clear catchlights from lenses.
- Clean lenses properly; oils create a milky haze even without specular glare.
- Use windows, lamps with shades, and phone settings; skip flashes and avoid bright light directly behind the camera.
The 90‑Second No‑Glare Checklist (Do This First)
Glare happens when a bright source reflects straight into your camera. You fix it by changing angles between three things: your lenses, the light, and the camera. Here’s the fast sequence that works most of the time.
- Kill the flash. Turn off all flashes. On iPhone: tap the flash icon and set to Off. On Android: same icon, set to Off.
- Face a window at 45°. Stand 2–6 feet from a window. Rotate your body so the window is off to your left or right about 45°, not directly behind the camera.
- Raise the camera slightly. Hold the phone an inch above your eye line and angle it down 5–10°. This pushes reflections downward.
- Micro‑tilt your frames. With one finger, gently lift the back ends of your glasses (ear pieces) 5–10°. Don’t see the tilt; just feel it. It nudges reflections away without changing your vibe.
- Chin control. Lower or raise your chin 1–2 cm while watching for reflections. One small change usually clears both lenses.
- Clean the lenses. Quick wipe with a dry microfiber cloth. Oil smears show up as haze that looks like glare.
- Shoot a burst. Take 5–10 frames as you make tiny head turns (10–20°) and chin adjustments. Pick the clearest eyes later.
If you still see glare, the light is too close to the camera line. Move the light farther to the side or higher/lower, then repeat steps 3–7.
Why Glasses Glare Happens—and How to Break It
Glare is just a mirror. Light hits your lenses and bounces off at the same angle it came in. If that bounce points at your camera, you get bright blobs or milky veils across your eyes. Three ways to break the reflection path:
- Change the light angle. Put the light source off the camera axis. Aim for 30–60° to either side, and a little higher or lower than your eyes.
- Change the lens angle. Tilt your frames 5–10° (rear earpieces slightly higher) so the bounce misses the camera.
- Change the camera angle. Raise or lower the phone 3–6 inches and tilt it 5–10° to avoid the reflection path.
Rules of thumb that keep you out of trouble:
- No bright light directly behind the camera. That’s the fastest way to paint rectangles on your lenses.
- Prefer big, soft light off to the side. A window with sheer curtains beats a bare bulb straight on.
- Watch both eyes separately. Sometimes one lens catches the ceiling or a lamp. Fix that side with a tiny head turn.
For a deeper lighting overview that still stays phone‑friendly, see this lighting guide.
Dial In Angles: Head, Camera, and Frame Tilt
You don’t need new glasses. You need smaller angle changes, done in order. Use this script and checklist.
Script for the friend taking your photo
- Say: “Stand with the window to your right. I’ll hold the phone a little higher and angle it down. Turn your head a touch left… good. Tiny chin down… hold.”
- Move: Keep the phone slightly above eye level, tip it down 5–10°, and step 6–8 feet away for a flattering perspective.
Your micro‑moves
- Head turn: Rotate 10–20° off camera. If your right lens glares, turn your face slightly left (away from the light/camera line causing it).
- Chin: Adjust 1–2 cm up or down. Check for each eye clearing in the preview; small shifts matter.
- Frame tilt: Lift the tips of the earpieces (behind your ears) 5–10°. This angles the lenses without changing where the nose pads sit.
- Bridge placement: Slide your glasses 1–2 mm higher or lower on your nose if needed. Higher often catches ceiling glare; slightly lower can help indoors.
- Camera height: If glare persists, move the camera up or down 3–6 inches before changing anything else.
Common traps and fixes
- Trap: You face a bright window dead‑on. Fix: Rotate 45° so the window is off to one side.
- Trap: Overhead can light painting circles on both lenses. Fix: Take one step forward or back and lower your chin slightly; or switch off that one light.
- Trap: Phone at nose level with a bright TV behind it. Fix: Raise the phone above your eyes and mute any screens in front of you.
Once angles are clean, layer in posture and expression. If you need posing fundamentals, use our step‑by‑step in how to pose for photos.
If you want an objective read on how your frames, grooming, and camera angles are landing, Suvant’s image audit scores your photos across eight categories and turns them into a ranked action plan. It’s free to try at app.getsuvant.com, and the full plan includes exact deliverables you can hand to a friend or barber.
Light Placements That Work (No Pro Gear Needed)
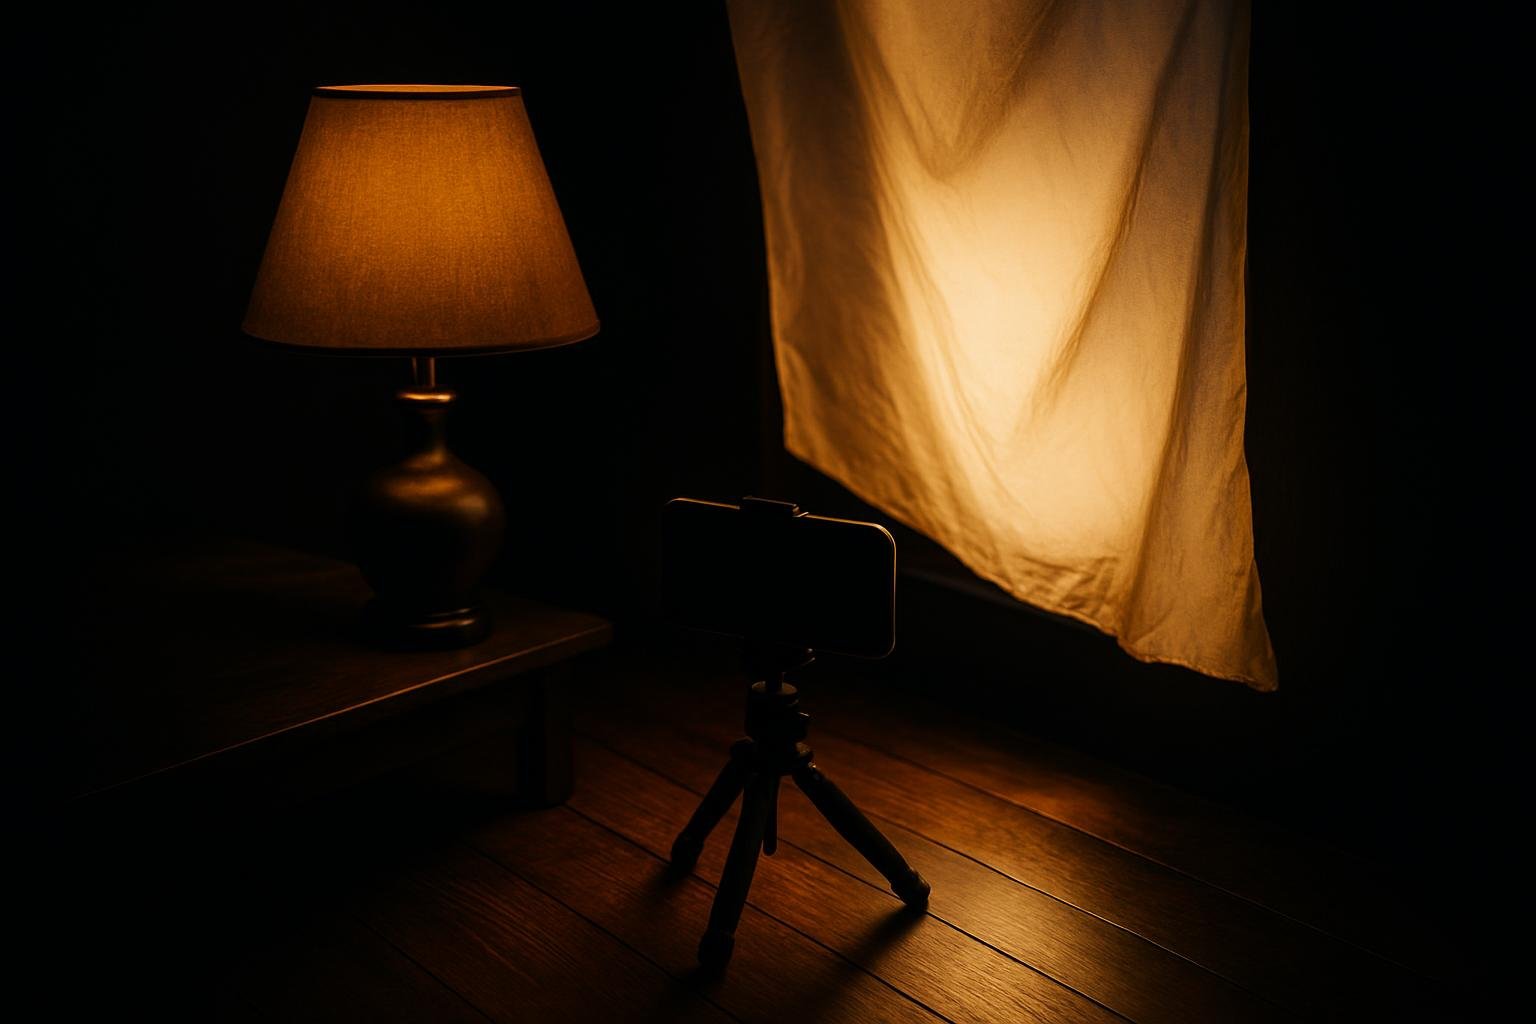
Use the light you already have. Make it big, make it soft, and push it off the camera line.
Windows
- Overcast or shaded window: Stand 2–6 feet away. Turn 30–60° so the window is to your side. Raise the camera slightly above your eyes.
- Sunny window: Back up until the sun is not hitting your face directly. Use sheer curtains or a white sheet to diffuse. Same 30–60° angle.
Table and floor lamps
- With a shade: Place the lamp 2–4 feet to your side, slightly ahead of you, and 1–2 feet above eye level. Aim the open side away from the camera.
- Without a shade: Face away from the bulb. Bounce it off a wall by pointing the bulb at a nearby white surface to soften it.
Outdoors
- Open shade: Stand just inside shade with the open sky at 45° to your side. Avoid skylight directly behind the camera.
- Golden hour: Put the sun at your back or 45° to the side. Turn your head slightly until your lenses go clear.
Ceiling lights you can’t move
- Step 2–3 feet forward or back to change the angle relative to your lenses.
- Lower your chin a touch and raise the camera.
- If possible, switch off the one fixture that’s painting the brightest circle.
For a fuller walkthrough on shaping light at home, check our guide to the best lighting for dating photos.
Clean Lenses = Clear Eyes (2‑Minute Routine)
Even without hard glare, fingerprints and skin oil create a fog that hides your eyes. Clean lenses change more photos than new frames do.
- Rinse first: Lukewarm water on both sides to remove grit. Avoid hot water.
- Drop of mild dish soap: Rub gently with clean fingers, including near the frame edge where oil collects.
- Rinse thoroughly: No soap film left behind.
- Dry with microfiber: Pat, then wipe in circles. Never use paper towels or your shirt—both can scratch and smear.
- Finish with a fresh cloth pass right before you shoot. Keep a small microfiber in your car or bag.
If your lenses still reflect heavily, ask your optician about anti‑reflective coatings the next time you update lenses. Day to day, technique plus a quick clean beats buying more gear.
Bonus: a tiny dab of matte moisturizer on your T‑zone can cut forehead shine that “blooms” into your lenses. If you want a simple routine to manage shine before photos, see our guide on reducing a shiny face in photos.
Phone Settings and Real‑World Scenarios
Your phone can help—or hurt. Use these settings and moves for the situations you actually shoot in.
Core settings (iPhone and Android)
- Flash: Off. If the room is dark, raise ISO indirectly by adding a lamp to the side rather than using flash.
- HDR: On or Auto. It preserves detail in your eyes without cranking highlights that cause glare.
- Exposure: Tap your eye in the preview, then slide exposure down slightly if highlights are hot. Darken a third of a stop; keep eyes bright.
- Lens choice: Avoid ultra‑wide for portraits; it can tilt your glasses relative to the camera in unflattering ways. Use the main lens.
Indoors at night
- Turn on one shaded lamp 2–4 feet to your side. Kill the bright downlight directly above you if you can.
- Raise the phone slightly above your eyes and angle it down. Micro‑tilt frames 5–10°.
- Shoot 5–10 frames with tiny head turns and chin adjustments; pick the sharpest eyes.
Outdoors midday
- Find open shade (building edge, tree shadow). Face the open sky at 45°.
- If you must stand in sun, put the sun behind you, then tilt your head until the lenses clear and squint slightly to control brightness.
Office fluorescents
- Step forward/back a couple feet to shift the reflection arc. Lower your chin slightly and raise the camera.
- Use a desk lamp to your side as a competing softer source; it can overpower the ceiling glare without blasting straight into the camera.
Selfies vs. friend‑shot
- Selfies: Hold the phone slightly above eye level. Angle down 5–10°. Turn your body 30–45° relative to the light. Use the timer and rest the phone on a shelf for steadier shots.
- Friend‑shot: Hand them the script: “Hold it a little high, angle down, window off to the side, tell me if either lens flares.”
Want a clean technical setup for your phone? We cover simple toggles and when to use each in our iPhone photo settings guide.
If you’d like a second set of trained eyes on your lighting, angles, and frames, Suvant’s free image audit gives you the real reasons your photos read the way they do and turns them into ranked next steps. The full plan is $89/yr with a money‑back guarantee if it’s not useful.
A Simple Shooting Process You Can Repeat
Consistency beats luck. Here’s a repeatable 6‑step loop that gives you clear eyes without stress.
- Prep the scene (1 minute): Pick a window or shaded lamp. Put it 30–60° to your side and slightly above or below eye level. Switch off the one overhead that’s the worst offender.
- Prep yourself (1 minute): Clean lenses. Lightly blot your forehead and nose with a tissue. Quick hair check, collar straight.
- Frame the shot (30 seconds): Phone an inch above your eyes, angled down 5–10°. Step back 6–8 feet if someone else is shooting; you’ll look more natural.
- Micro‑adjust (30 seconds): Head turn 10–20°. Chin 1–2 cm. Frame tilt 5–10° by lifting the earpieces slightly. Watch each eye in the preview.
- Shoot in small bursts (1 minute): Take 3–4 bursts of 3–5 frames while making tiny angle changes. Mark favorites immediately.
- Review and repeat (2 minutes): Pick the 1–2 with the clearest eyes and best expression. If glare crept in, move the light farther to the side and reshoot one more burst.
This is the same loop we bake into Suvant quests: small, ranked moves you can execute in minutes, with clear deliverables and a reason behind each step.
When you’re ready to go beyond glare—posture, hands, jawline shadow—layer in the basics from our posing guide.
Get the honest audit you've never gotten.
Three photos, eight scores, the real reasons behind each number, then a ranked plan to fix them one move at a time.
Get my free audit →