Stand Straighter on Camera: Height-Boosting Photo Tactics
- Use a vertical frame, include your shoes, and keep the camera level around belt to lower‑chest height.
- Stand 10–15 feet back and zoom to 2x (phone) or ~50–85mm (camera) for natural proportions.
- Shift weight to the back foot, reach the front foot toward camera, and lengthen your spine.
- Wear higher‑rise pants, minimal break, and low‑contrast top‑to‑bottom to avoid visual cut‑offs.
- Direct a friend with short scripts so you control angles, distance, and cropping on the spot.
The quick-start answer (no gimmicks)
If you want to look taller in photos without odd angles: shoot vertical, include your shoes, and keep the camera slightly lower than your eyes but not on the floor. Stand 10–15 feet from the camera and use 2x or 3x on a phone (or a 50–85mm lens). Keep the phone level (no tilt) and frame you with 5–10% headroom. That’s the base that elongates you without the “weird perspective” look.
- Camera height: belt line to lower chest (roughly navel to nipple line). Level with the ground, not tilted.
- Distance: 10–15 ft from camera for full-body. Step back; zoom in.
- Focal length: Phone 2x–3x. Interchangeable lens: 50–85mm equivalent.
- Framing: Vertical orientation. Show shoes. Minimal headroom (about an inch in the frame).
- Stance: Weight on back foot. Front foot pointed slightly toward camera. Spine tall, chin slightly forward-and-down.
- Outfit: High-rise pants, minimal break, darker or matching shoes, simple vertical layers. Avoid high-contrast cuts at the waist or ankles.
Do those six, and your height reads cleaner and longer on camera — no crouching photographers, no cartoonish up-the-nose angles.
Camera setup that makes you read taller
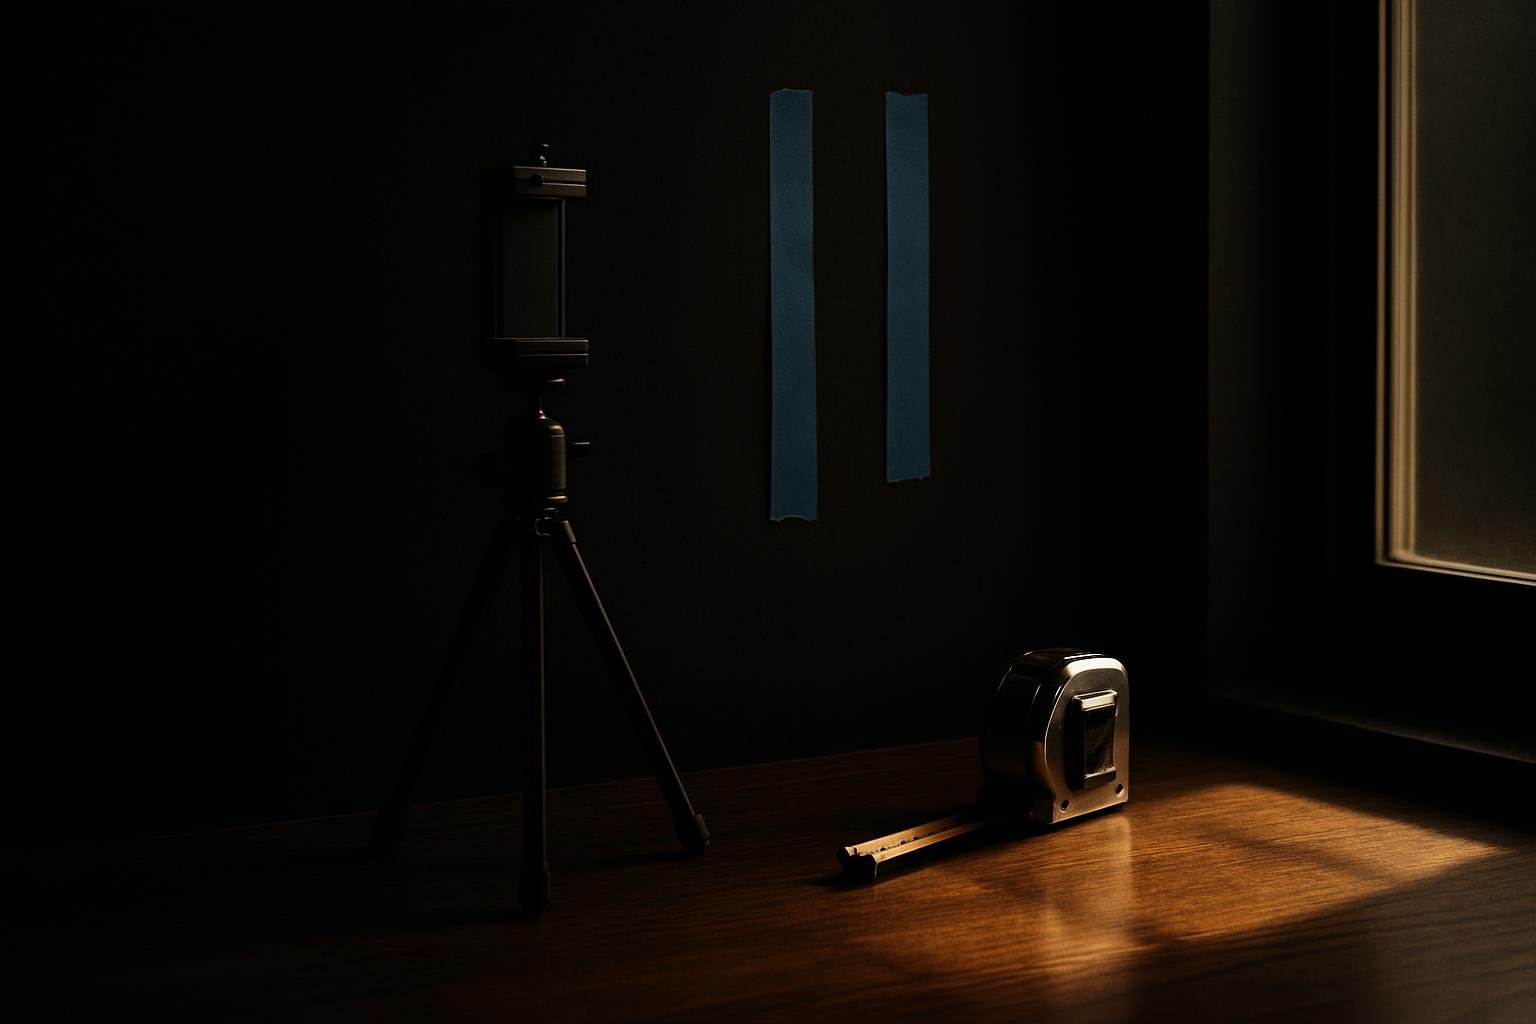
The camera makes or breaks perceived height. Use these exact placements and quick tests so your photos stretch you, not squash you.
Height and tilt
- Level, not tilted: Keep the phone perfectly level to avoid converging verticals that shorten you. If you must tilt, keep it under 3–5°.
- Camera height sweet spot: Place the lens between your belt line and lower chest. This favors longer-looking legs without the “up-the-nose” issue.
Distance and focal length
- Stand back, zoom in: 10–15 ft for full-body. On a phone, use 2x–3x. On a camera, 50–85mm equivalent. This minimizes wide-angle distortion (big head, tiny feet) that makes you look shorter.
- Frame vertical: Full-body needs a vertical orientation (portrait). Horizontal frames force cropping and often cut off your shoes — instant height loss.
Three 2-minute at-home tests
- Tripod tape test: Put painter’s tape at your belt and lower chest on a wall. Set a tripod at each height, shoot the same pose. Compare: which elongates legs more without distorting your face?
- Tilt test: With the camera at belt height, shoot one frame level and one with a 5° upward tilt. Which keeps vertical lines straight and still gives you length? Keep the winner.
- Distance test: Shoot the same pose at 5 ft (1x), 10 ft (2x), 15 ft (3x). Most men read taller at 10–15 ft + zoom. Save the A/B/C for future reference.
Lock these in once. You’ll never argue with a friend about angles again.
Pose like a taller version of you
Your stance can add or subtract visual inches. Think length and clean lines.
- Footwork: Place your feet in a shallow V (10–20°). Put 60–70% of your weight on the back foot. Reach the front foot 2–6 inches toward the camera to lengthen that leg.
- Spine and ribs: Imagine a string lifting the crown of your head. Ribs up slightly; don’t flare your chest. This stacks you without looking stiff.
- Hips and shoulders: Turn your hips 10–20° off camera, then square your shoulders a touch more to camera. This narrows your waist-to-shoulder perspective and reads taller.
- Arms and hands: Create daylight. A thumb in a pocket or a gentle jacket tug prevents arms pressed flat to your sides (which widens you).
- Chin position: Chin forward 1 inch, down 1/2 inch. This lengthens the neck without lifting your head. If you struggle with this, read our guide on avoiding a double chin in photos.
- Micro-shift: Before the shutter, inhale tall, exhale slow, then add a 1-inch posture lift. It reads as calm confidence, not strain.
Want more pose variety that still reads tall? See our full posing playbook: how to pose for photos.
Outfits that lengthen your lines
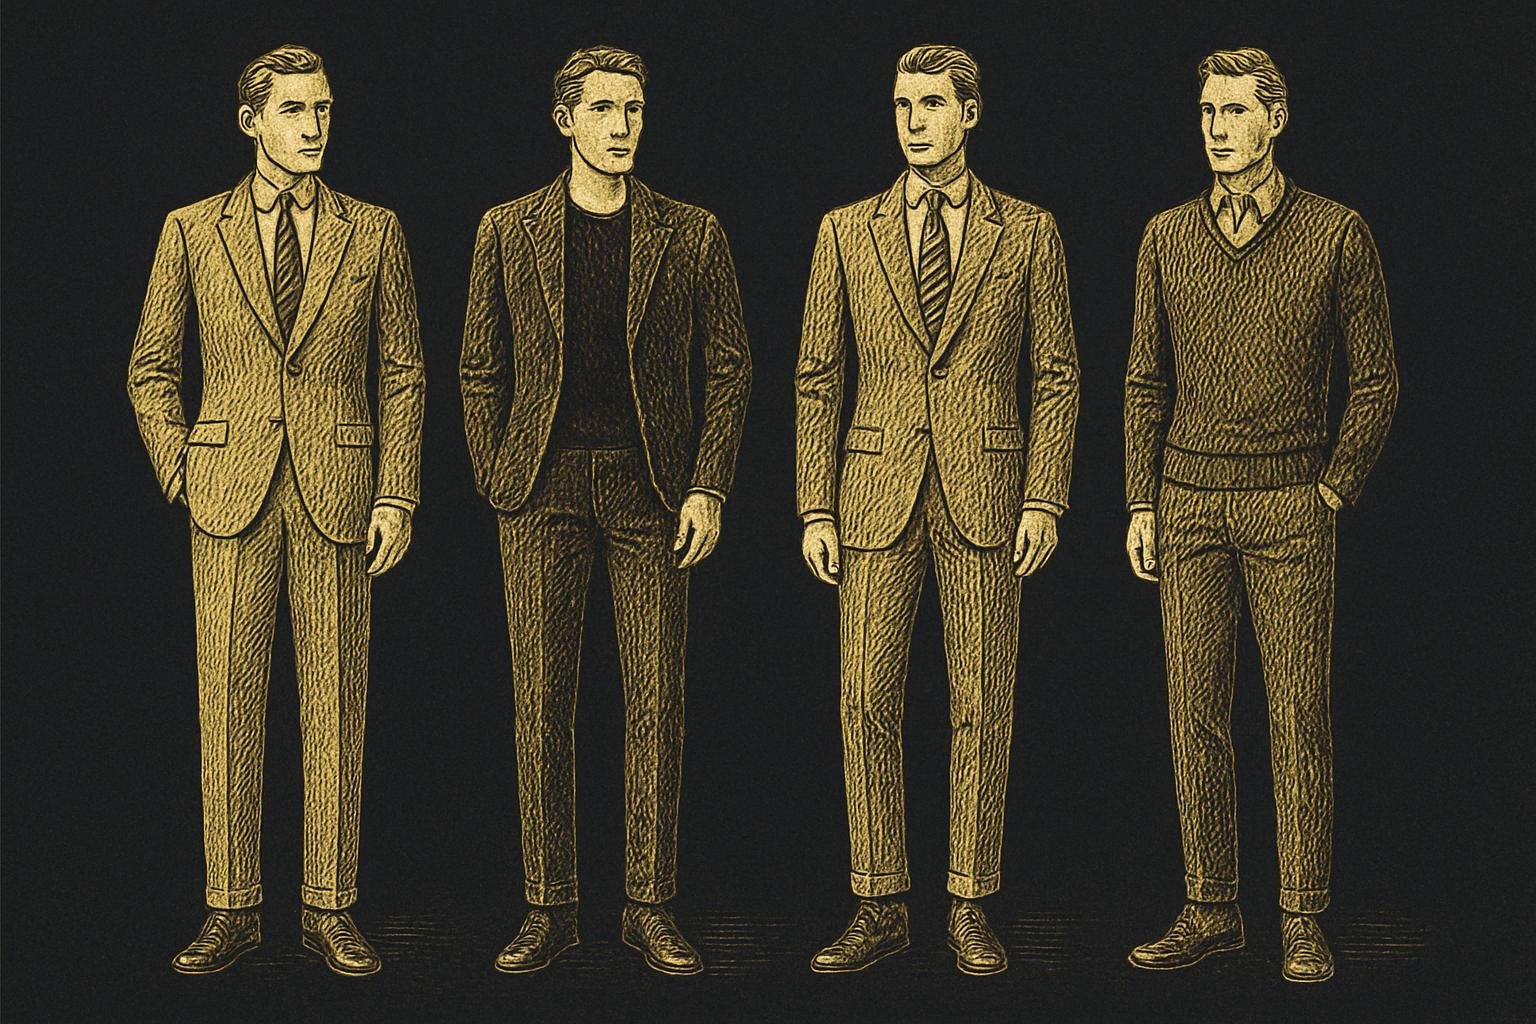
Clothes can shorten you with one bad break or add length with clean, uninterrupted lines. Here are the highest-impact tweaks.
Pants and shoes
- Rise: Aim for a mid-to-high rise that lands near or slightly above your hip bones (often labeled 10–12 inches in jeans). A higher rise visually raises your leg line.
- Break: Minimal to no break. The hem should just kiss the top of your shoe. Ask a tailor for a slight forward slant if your shoes are chunky.
- Cuffs: If you cuff, keep it lean (0.75–1.25 inches) and limit to one roll. Big, stacked cuffs chop your leg line.
- Shoe color: Match or stay close to your pants. Dark jeans + dark boots, grey trousers + charcoal sneakers. Low-contrast equals longer legs.
Tops and layers
- Length: Tees and sweaters that end around mid-fly. Jackets that hit just below your belt. Overlong tops shorten legs.
- Neckline: V-necks or open collars elongate the neck and torso line. If you wear crewnecks, avoid tight, high crews that box your neck.
- Vertical cues: Unzipped hoodies, open overshirts, cardigans, and long scarves create vertical channels that pull the eye up and down.
- Color contrast: Minimize stark top/bottom contrast. Monochrome or neighboring tones (navy + charcoal, olive + dark khaki) read taller than white-on-black splits.
Belts and details
- Belt width: 1–1.25 inches. Oversized buckles create a hard stop at your waist.
- Patterns: Keep big horizontal stripes off your midsection. If you like patterns, go small-scale or vertical textures (corduroy wales, pinstripes).
- Outerwear fit: Trim the body and sleeves enough to show your shape. Swallowed by fabric = shorter.
At-home test: Put on two outfits. Take the same full-body photo setup for each. Compare: Where does the eye stop? If you notice breaks at cuffs, belt, or ankles, adjust one element at a time until the line flows.
Framing, background, and lines that add visual height
Even with the right lens and stance, framing can steal or add height. Use the scene.
- Include your shoes: Cutting feet is the fastest way to look shorter. Keep your full shoe in frame.
- Headroom math: Leave 5–10% of the frame above your head. Too much sky wastes vertical space; too little feels cramped.
- Vertical allies: Stand near door frames, fence posts, lamp poles, or tall windows. Their vertical lines echo your posture and cue height.
- Horizon placement: Don’t let a hard horizon line slice your waist. If outdoors, adjust camera height until the horizon lands below your belt or above your shoulders.
- Foreground trick (honest version): Take a small step toward the camera from your backdrop. You’ll appear more prominent without warping proportions.
- Avoid crowd merges: If in a group, angle so no one’s shoulder visually chops your torso or legs. Stagger depth; you slightly forward.
Lighting matters too. Directional light from the side adds shape and shadow, which defines edges and makes you read cleaner. If you’re dialing in home selfies, skim our guide to the best lighting for dating photos.
Simple rehearsals that make this automatic
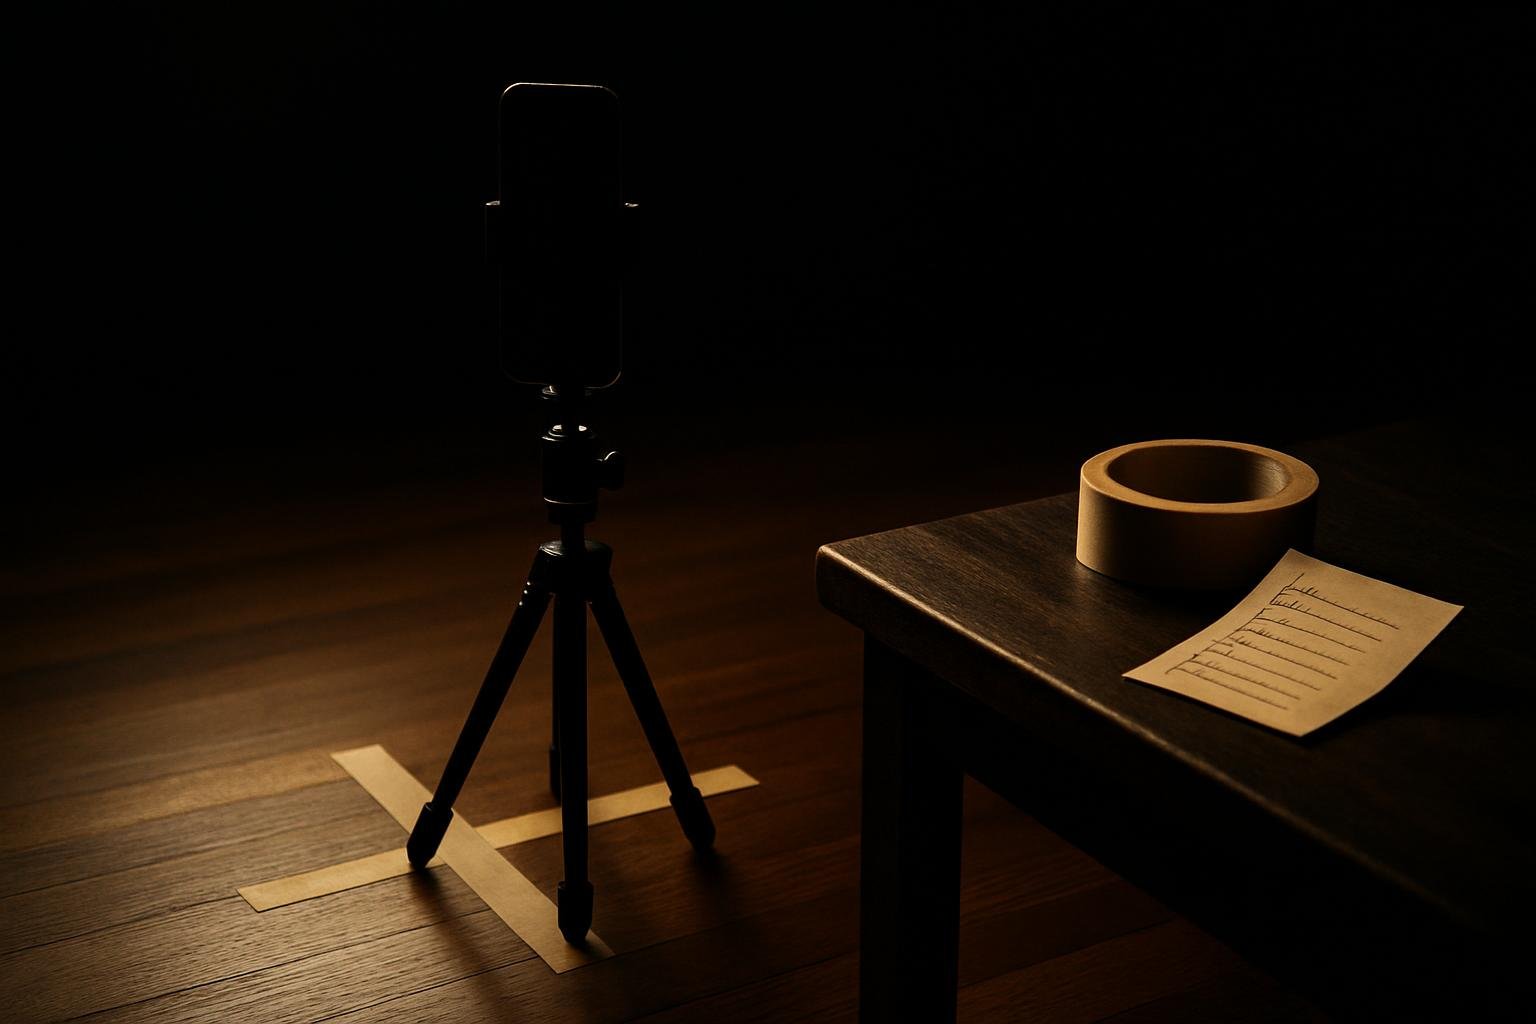
You don’t need studio time — just repeatable checks so the right habits stick.
- Gridlines on: Turn on your camera grid. Keep verticals parallel. Your body centered or on the center vertical line for symmetry shots.
- Floor marks: Use two pieces of painter’s tape: one for camera feet, one for your stand spot at 12 ft. This gives you instant, repeatable framing.
- Mirror warm-up: Before a shoot, do 30 seconds of posture resets: crown up, ribs soft, chin forward/down. Then step away and hold it.
- Breath cue: Right before the shutter: inhale tall, exhale half, micro-lift 1 inch, soften face. Looks alive, not rigid.
- Two-outfit drill: Shoot Outfit A and B with the exact same camera setup. Keep the better silhouette and copy its elements (rise, break, jacket length) across your wardrobe.
- AB compare album: Make an album called “Tall Read.” Drop your best A/B results there. Reference it before events.
If you want objective eyes on what’s working, Suvant gives you an honest image audit across hair, face, skin, body, style, grooming, photos, and presence. Upload three photos at app.getsuvant.com; the free audit returns scores with the real reasons and turns into ranked next moves you can actually do (like exact camera setups or a barber brief).
Scripts to give your friend (so you control the shot)
Most height problems come from whoever holds the camera. Use these exact lines so you get the frame you need without sounding fussy.
Full-body, outdoors
- “Stand back two big steps and switch to 2x. Hold the phone at my belt height and keep it level.”
- “Shoot vertical and make sure my shoes are fully in.”
- “Give me about an inch of space above my head.”
Full-body, indoors
- “Take three steps back and zoom to 2x so the room lines stay straight.”
- “If you tilt, keep it tiny. Under five degrees.”
- “If the window chops my waist, lower the camera so the line hits below my belt.”
Three safety frames (always)
- One at belt-height level, one at lower-chest level, one at belt-height with a 3° up-tilt. Same pose. Compare and pick.
- One with me a half-step closer to the camera than the background plane. This adds prominence without distortion.
- One where I take a micro-step forward with my lead foot just before you press the shutter.
Group photo tip: Ask for the center vertical line if possible and a level camera. If you’re on an edge, take the near-to-camera edge; you’ll read slightly taller. For more body-language and stance options that still look natural, see how to pose for photos.
When you’re ready to make this a habit, Suvant’s full plan turns your audit into a ranked, step-by-step quest list with XP and monthly re-audits. It lives on the web (no mobile app), runs $89/yr, and comes with a money-back guarantee. Learn, apply, then measure progress on your next batch of photos.
Get the honest audit you've never gotten.
Three photos, eight scores, the real reasons behind each number, then a ranked plan to fix them one move at a time.
Get my free audit →